Features
Repetition accuracy of ±0.5μm prevents any false readings
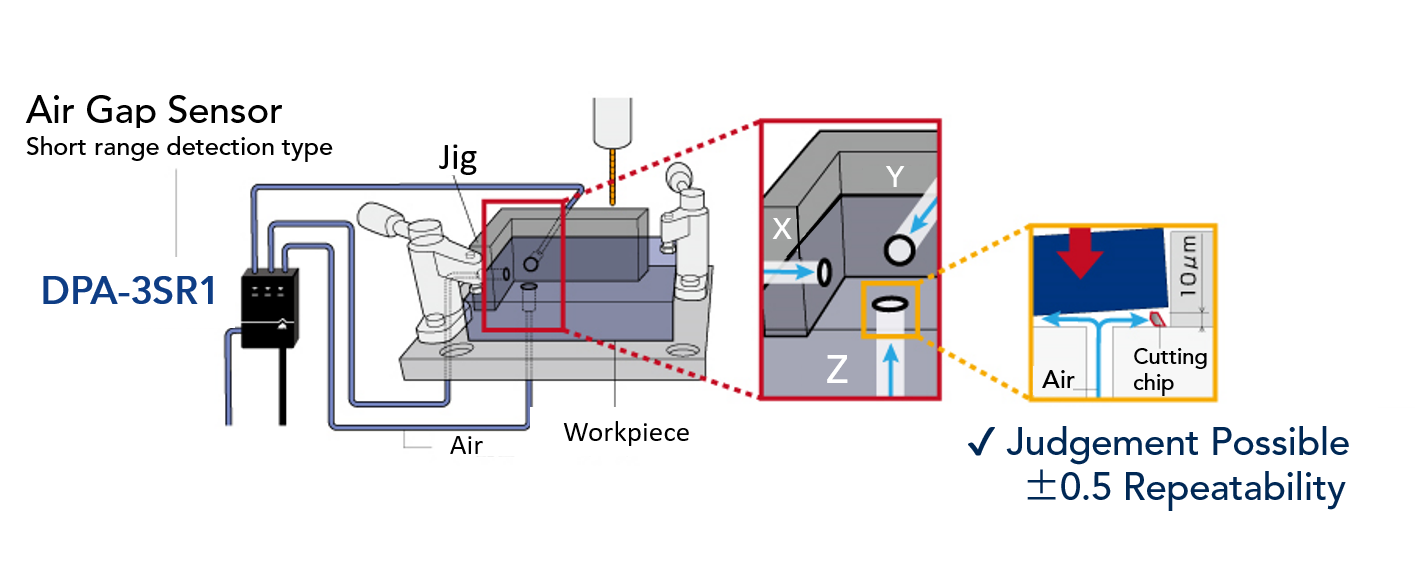
Gaps of “20 μm or less”, which cannot be detected by conventional gap sensors, are accurately detected with a repeatability of ±0.5 μm.
Effective detection of workpiece floating due to cutting chips.
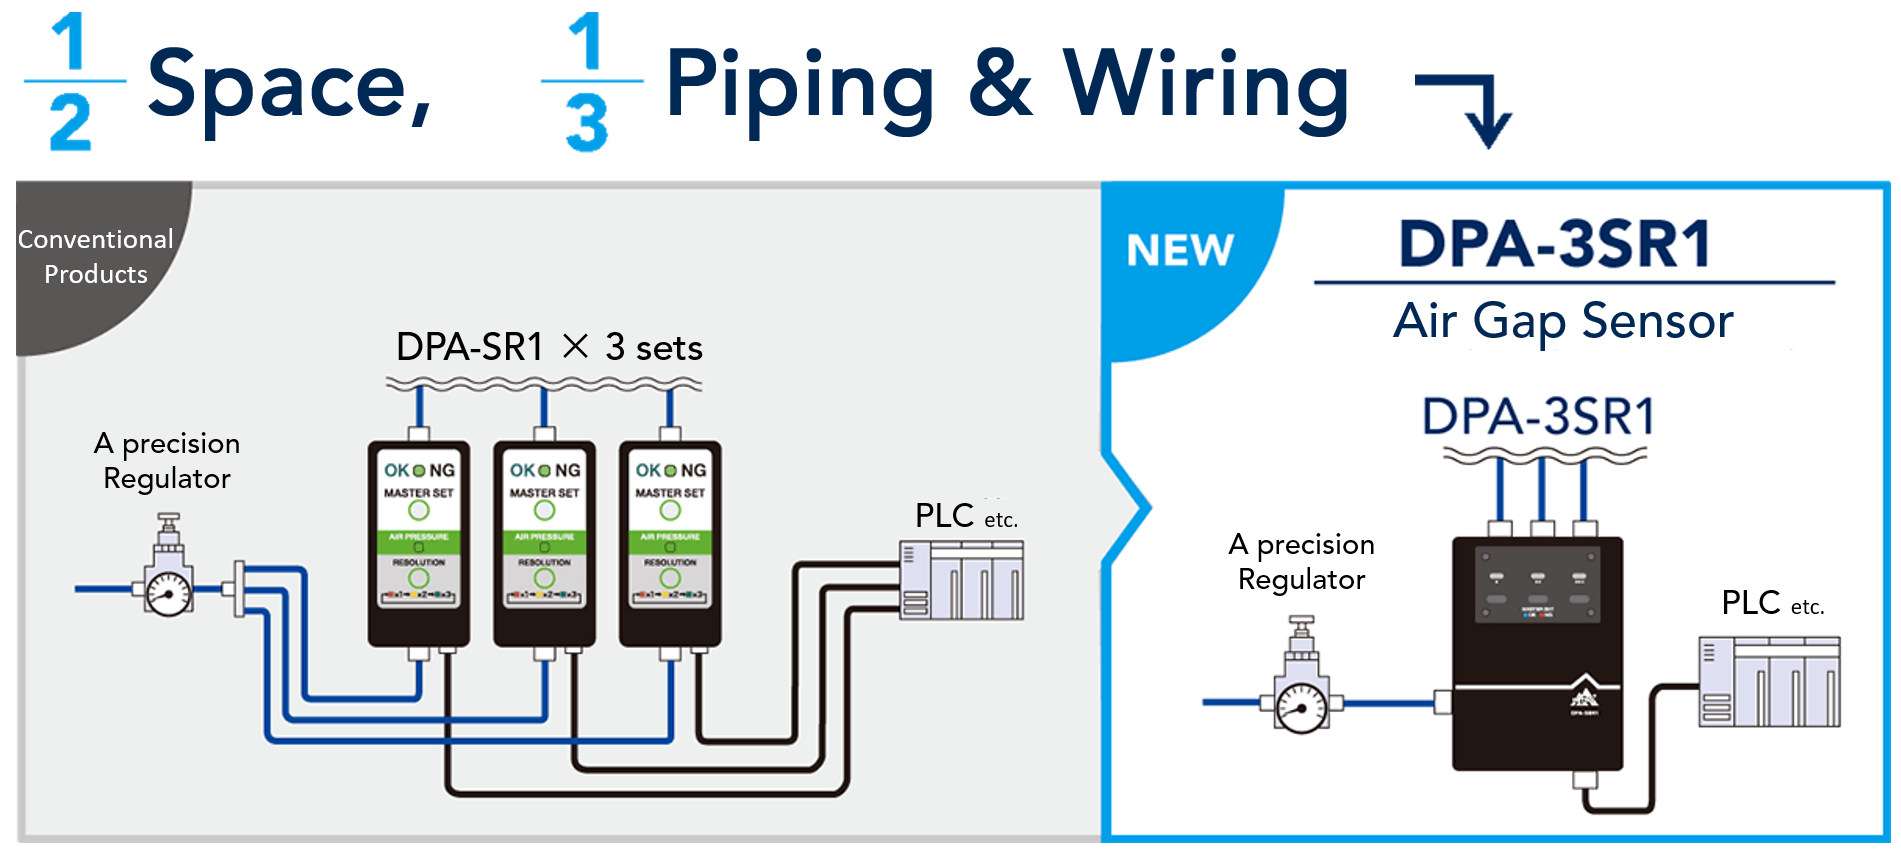
Cost reduction is realized by saving space, piping, and wiring.
Three precise seating checks are available with only one unit, while maintaining ±0.5µm repeatability.
- A single air gap sensor completes a machine tool that requires several seating sensors.
- The parallelism of the workpiece can be checked by detecting the workpiece at three thresholds.
Reduces machining cycle time
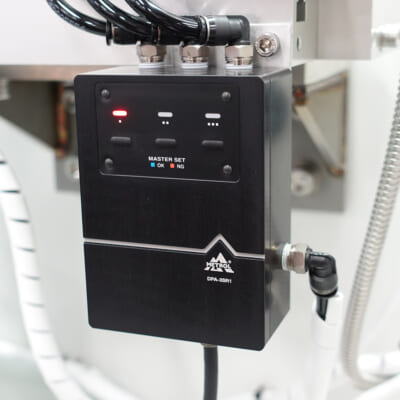
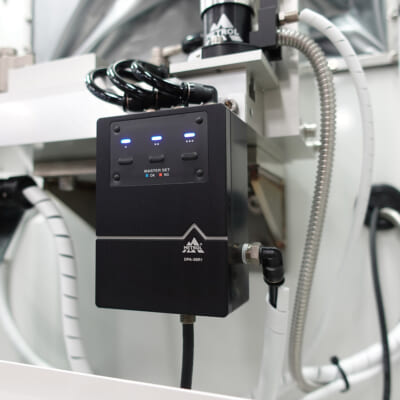
IP67 rating for protection against water, coolant, and dust, and the sensor can be installed inside the machine for shorter air piping.
Shorter pipe length improves signal response and contributes to shorter cycle time in mass production lines.
Coolant flooding tests and severe durability tests are conducted on machine tools assuming that they will be used in adverse environments.
Simple operation
“Threshold Setting” is completed with a single push.
Simply place the master workpiece or shim between the seating surface and the workpiece and press the master set button to complete setting.
Anyone can easily set the threshold value, thus eliminating variation in setting values among different operators.
Supply air self-diagnostic function
The self-diagnostic function outputs an alarm when an error occurs in the air supply pressure.
It notifies you of insufficient pressure, pressure fluctuation while the sensor is in use, and excessive pressure.
Air Gap Sensor Identification Method
![Air Gap Sensor[DPA-3SR1 Series]](https://metrol-sensor.com/wp-content/uploads/2021/02/img_products_air_gap_sensor_3sr1.png)
