Why METROL Air Gap Sensor Wins Customers
Reason 01:
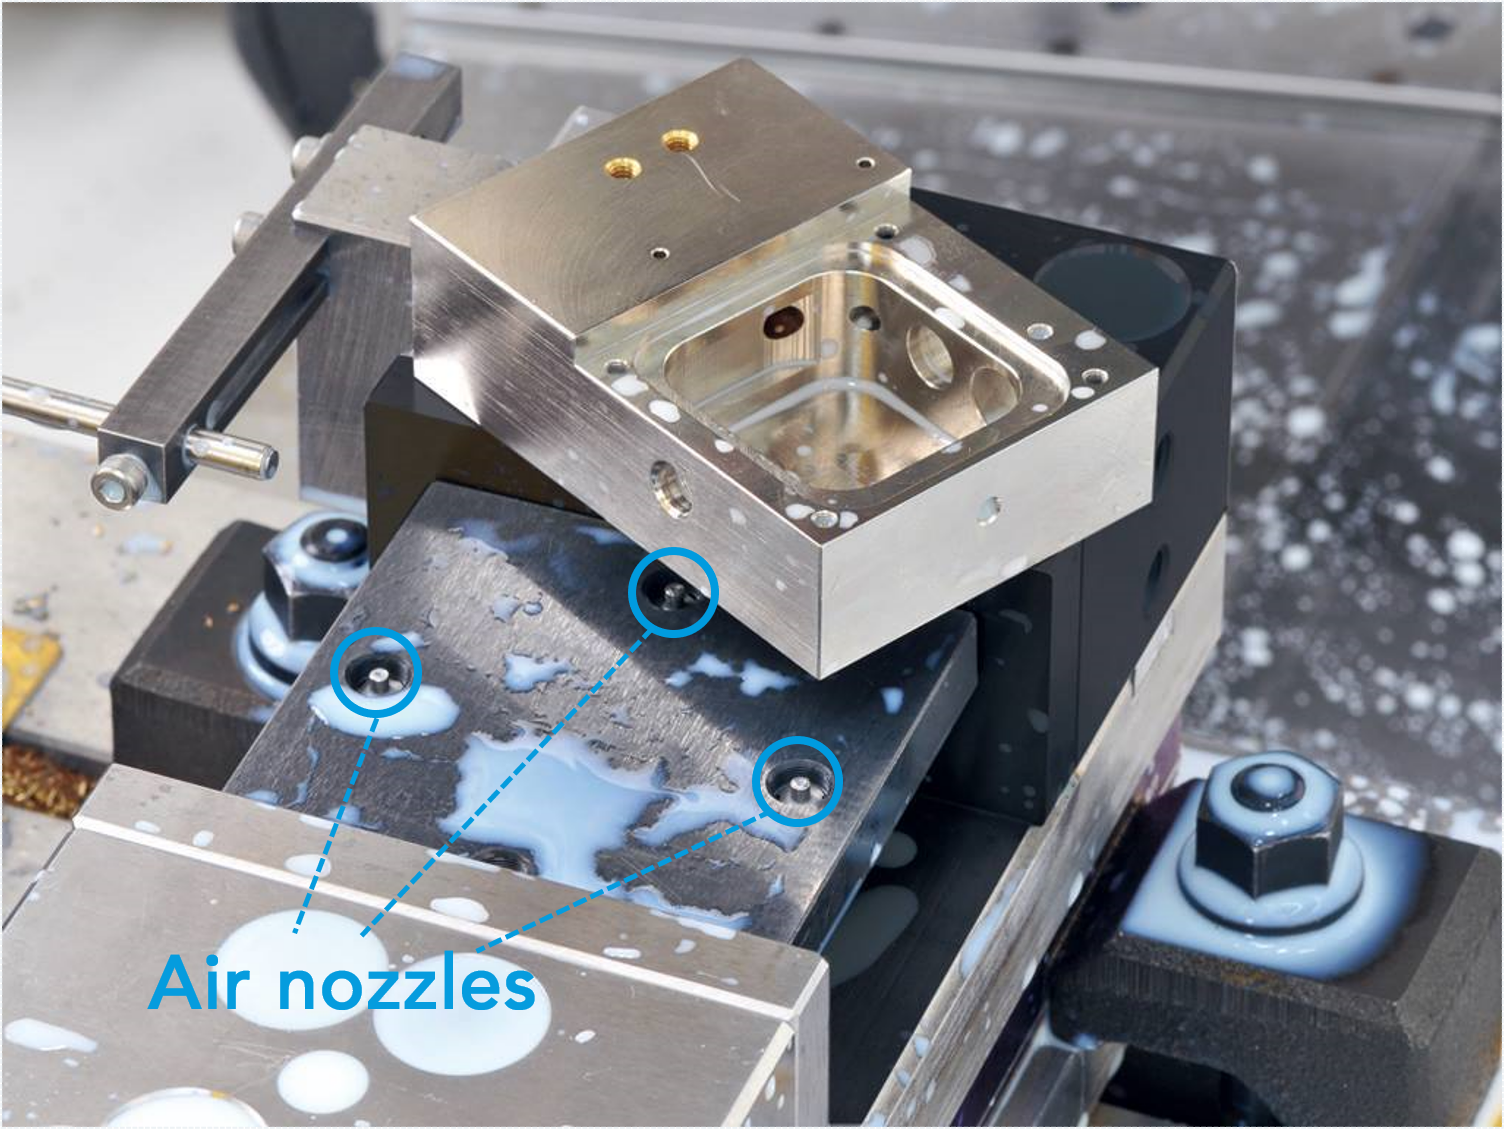
High accuracy of ±0.5µm ensures detection of gaps of 10µm or less
We the following inquiries have been brought to our attention.
“With the current gap sensor, I can see if something is there or not, but I can't detect if it has a gap or not.”
Since the air gap sensor can detect “gaps” of a few microns caused by chips, it is used as a seating confirmation sensor in machining lines that require high machining precision, such as brake parts for automobiles and HDDs.
Reason 02:
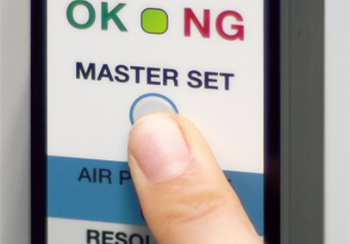
Anyone can easily set thresholds.
Simple operation
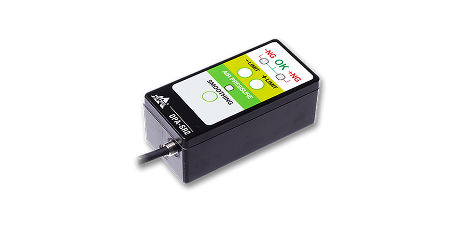
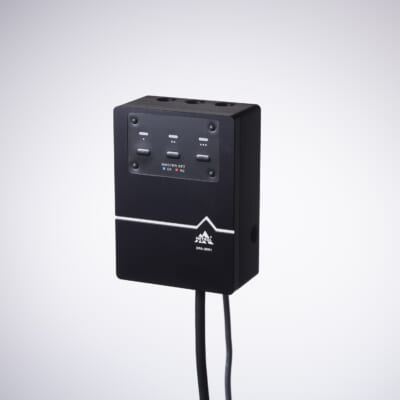
The "threshold value" that serves as the criteria for the sensor can be set at the push of a button.
There is no need to read complicated manuals or train operators for learning how to use the sensor.
Reason 03:

Versatility for use in a wide variety of applications
Air gap sensors are not only used for "checking adhesion.
There are various applications that utilize the high accuracy of the sensor, such as
"Automated positioning of the rotating grinding wheel of NC grinders*" and
"Efficient measurement of the inside diameter of workpieces".
In response to a NEDO (New Energy and Industrial Technology Development) grant in FY2020, we are collaborating with Okamoto Machine Tool Works, Ltd. in a joint-research.
Reason 04:
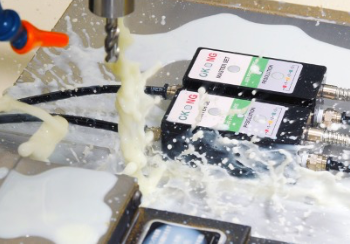
Coolant resistance IP67 protection rating
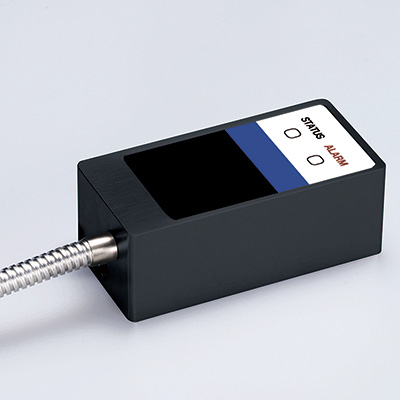
The air microsensor has an IP67 protection rating and can be installed inside machine tools where coolant splashes.
Air piping to the air nozzle can be shortened, which speeds up response time and improves productivity.
Reason 05

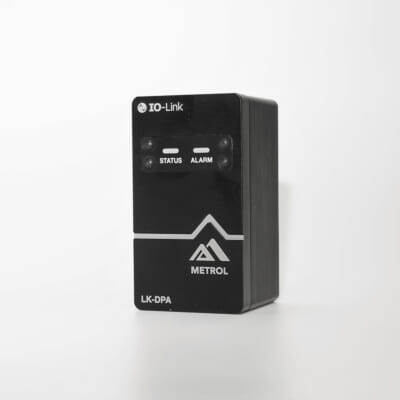
Compatible with the worldwide communication standard "IO-Link"
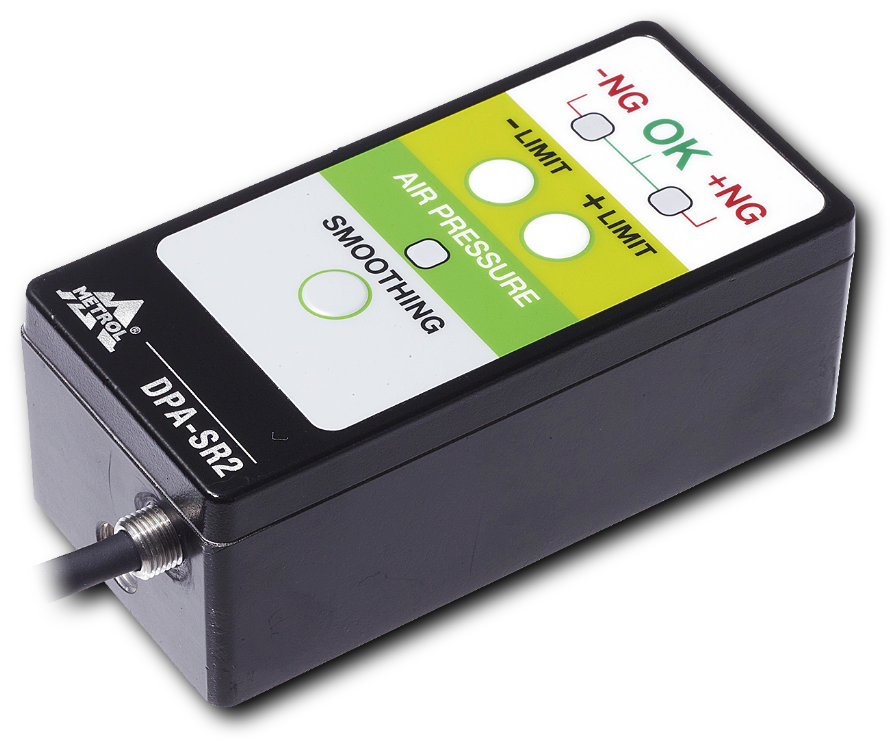
Models that support the IO-Link communication standard can send and receive data from inside the sensor to PLCs and networks.
Predictive maintenance and remote control of sensors via Ethernet are now possible and are effective in identifying the cause and preventing downtime even in unforeseen circumstances.
*Supported model:
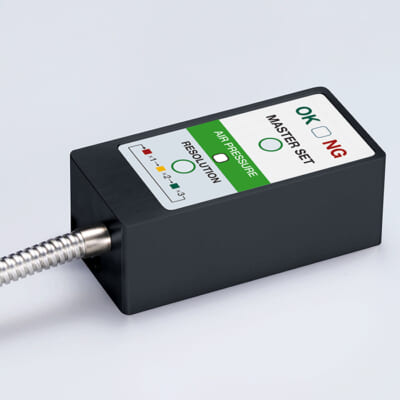
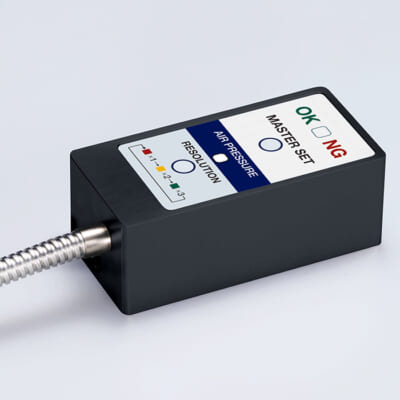
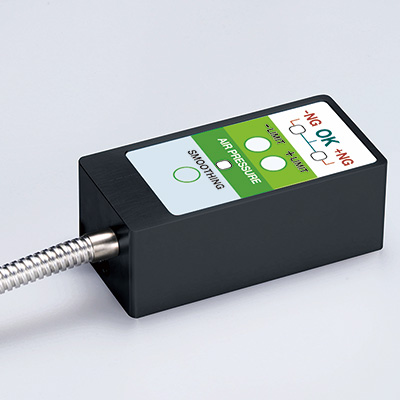
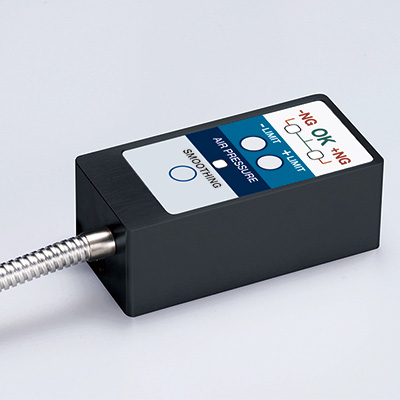
LK-DPA series


![Automation of NC Grinding Machines [Introduction]](https://metrol-sensor.com/wp-content/uploads/2023/06/c91a27f291fb6c115ac7551402890b69-800x530.png)
![What kind of difference does numerical output make? [IO-Link compatible] Convenience afforded by the Air Gap Sensor](https://metrol-sensor.com/wp-content/uploads/2025/09/LK-DPA2-800x530.jpg)
