[Case Study] Productivity increased more than 4 times! How to utilize “ON-machine measurement” of CNC surface grinders?
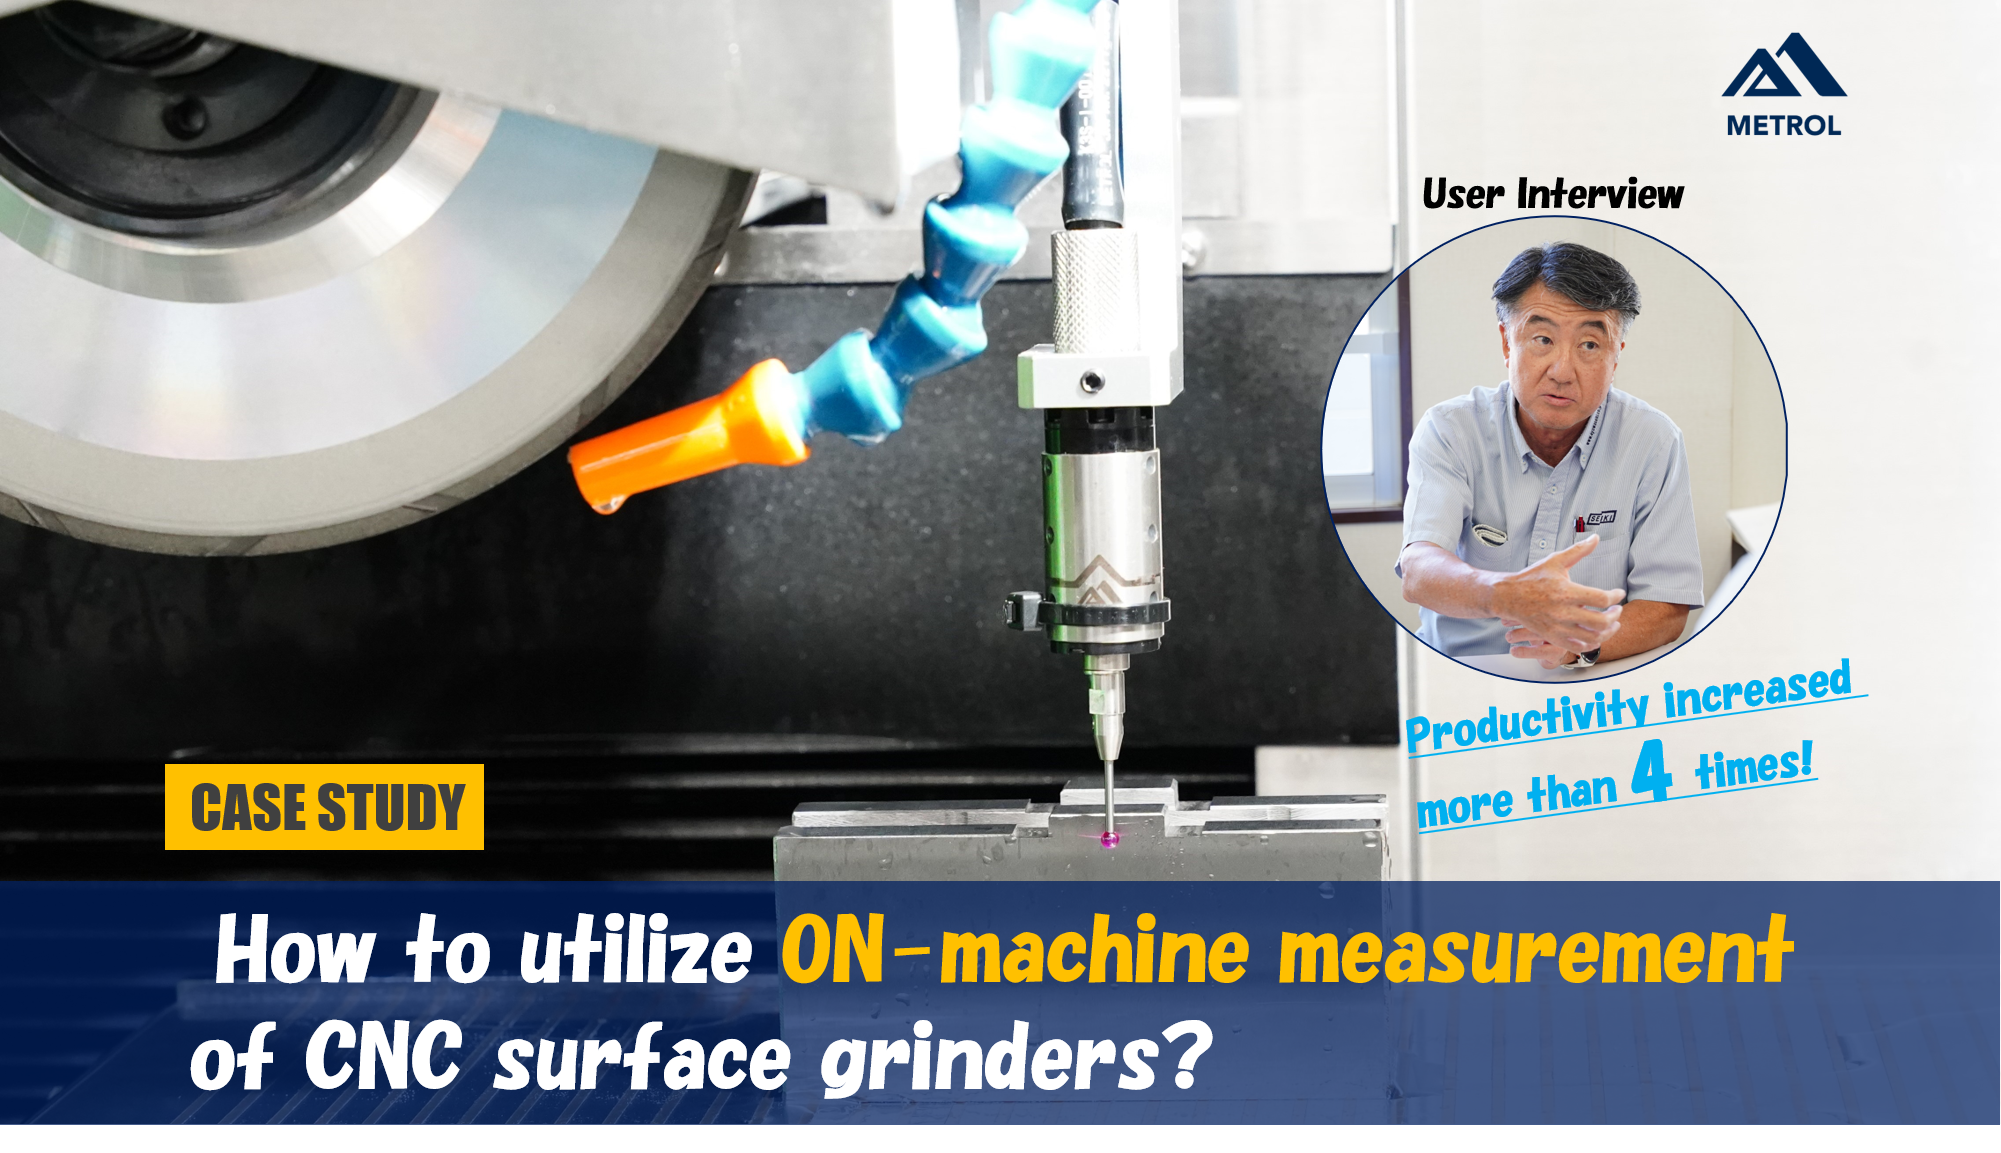
If you are engaged in grinding and polishing processes, do you have any of the following problems?
- Accuracy is not stable and many products have to be reworked.
- Processing takes too much manpower and time, and productivity is not improving.
- The technical transfer to the younger generation is not going well, and the burden on the veterans is only increasing.
This article introduces a case study of a user who solved the above issues and greatly improved production efficiency by introducing an NC surface grinder equipped with a touch probe.
We asked them for their honest opinions about how the sensors were introduced and their actual effects.
Keywords,
”Full automation of grinding and polishing processes”
”ON-machine measurement of workpieces”
Please read on!
Table of Contents
User Introduction
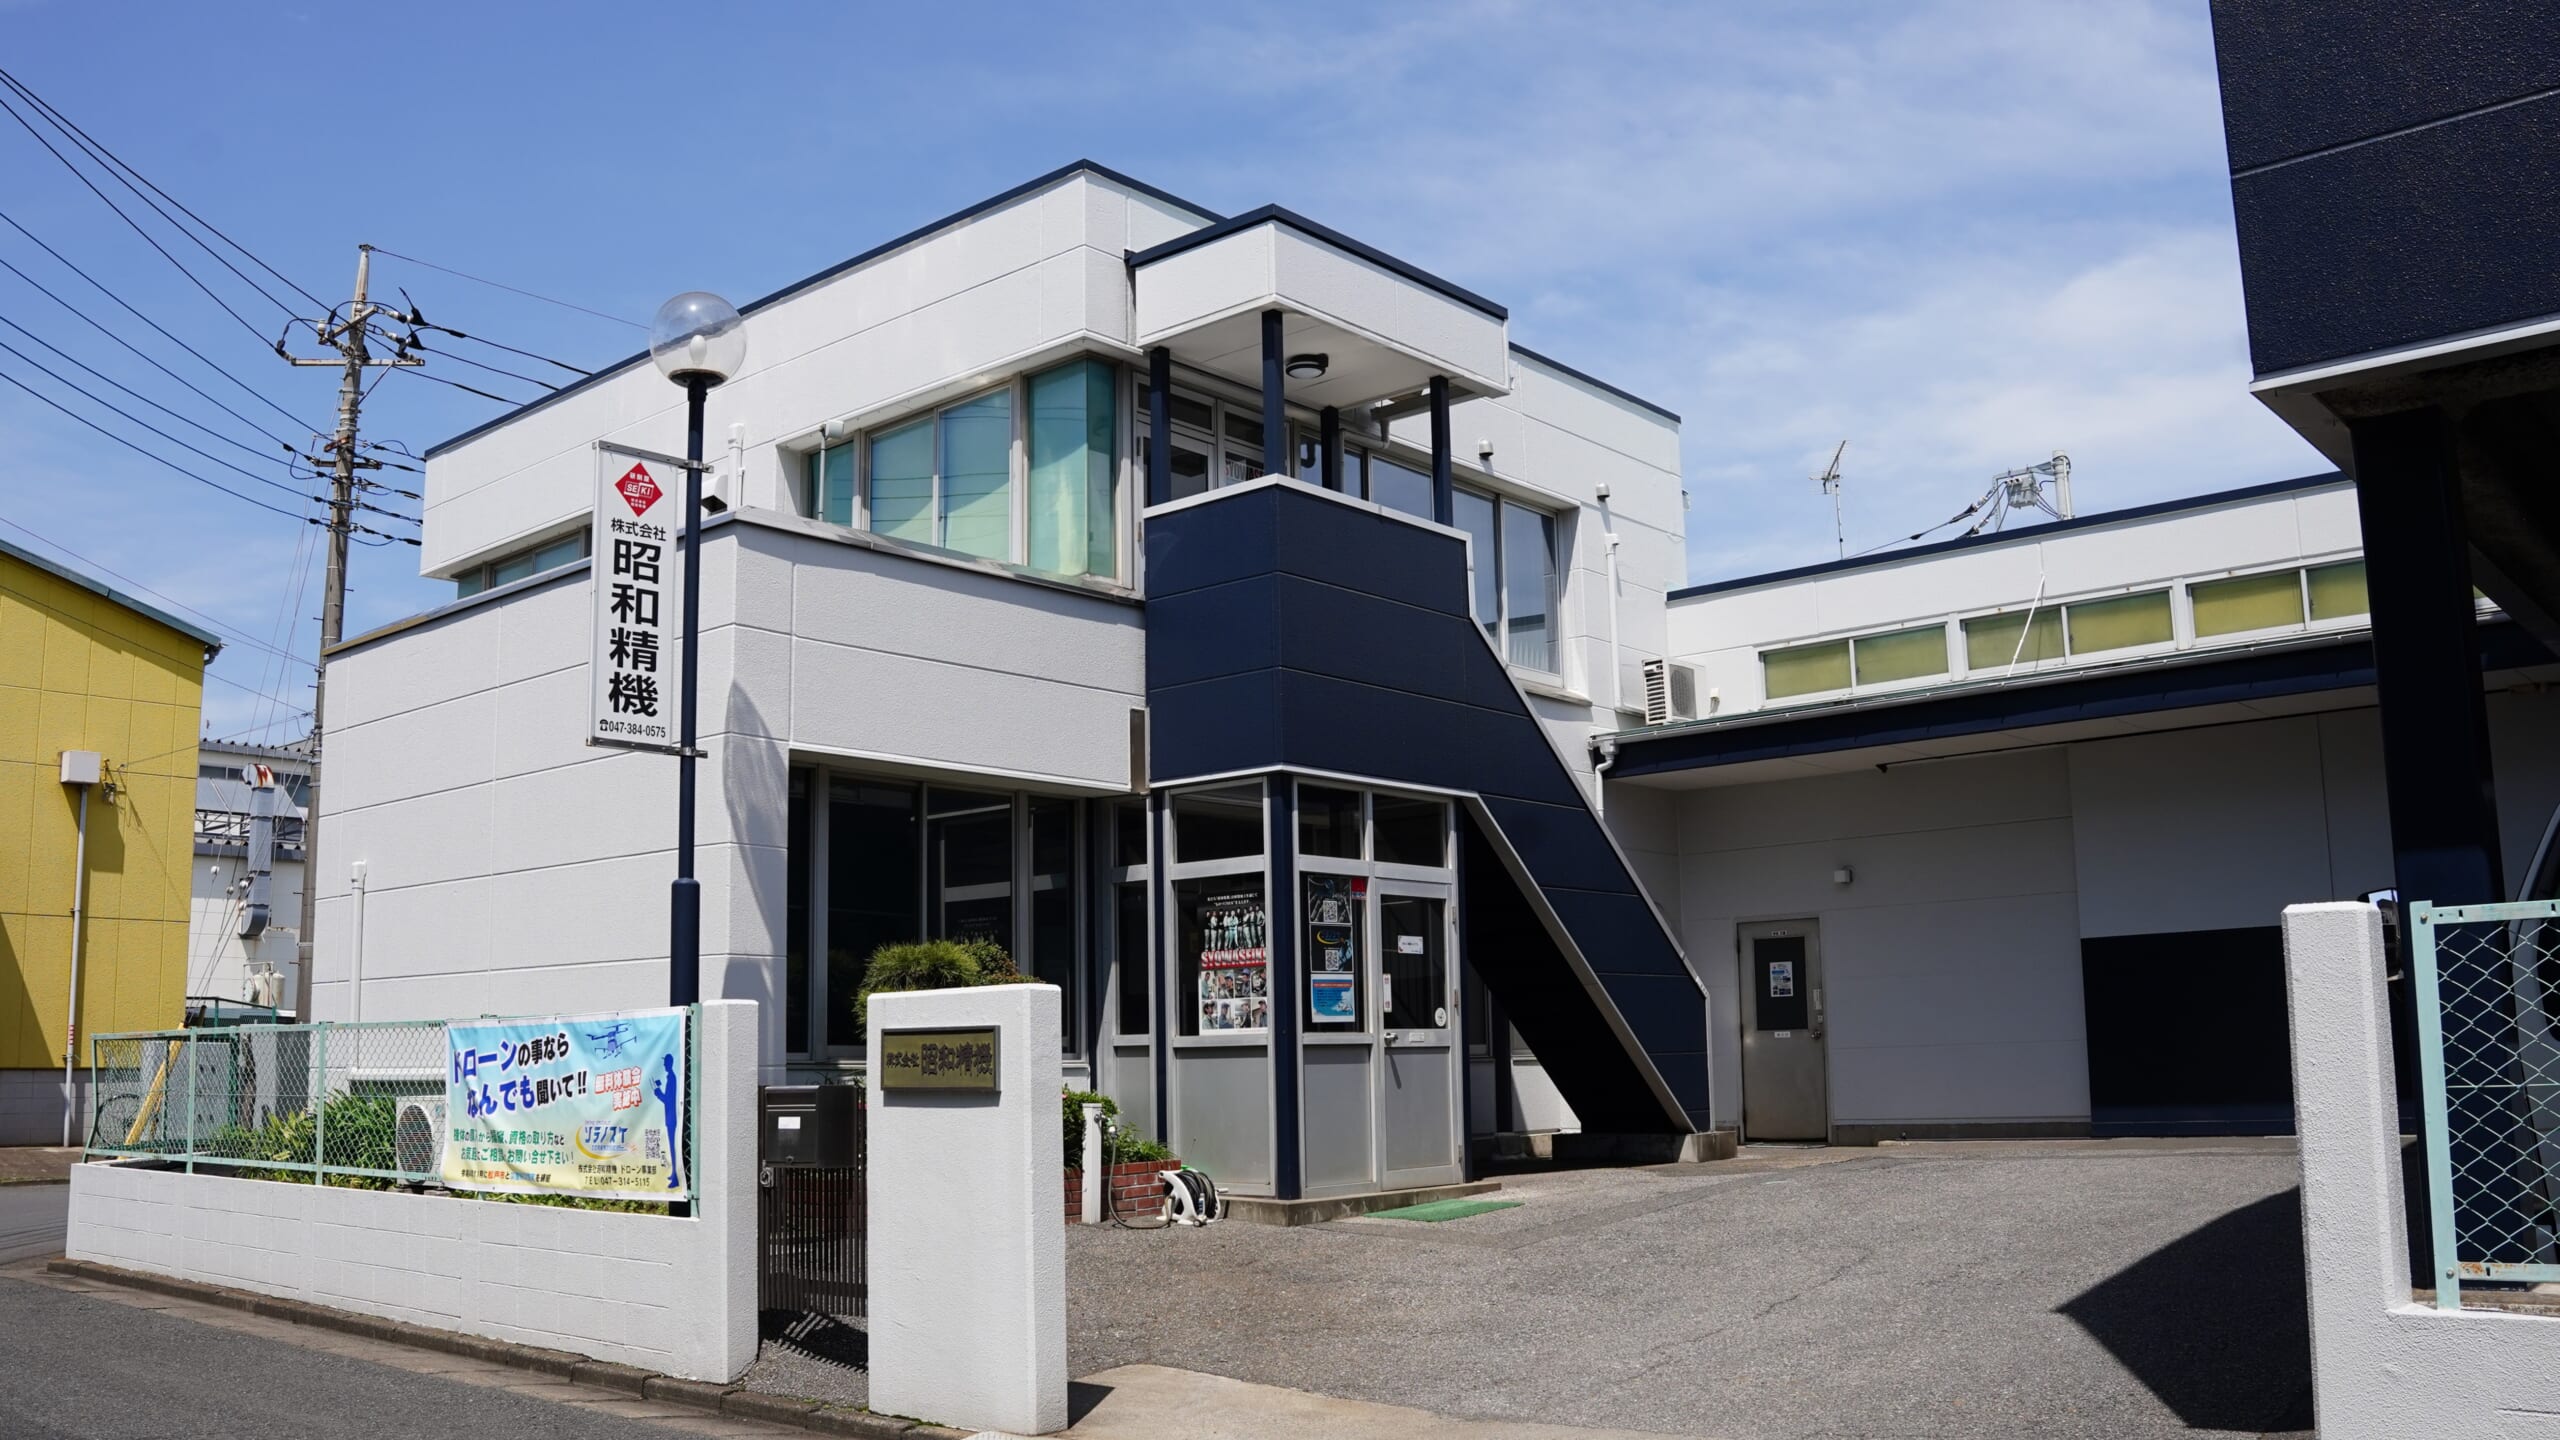
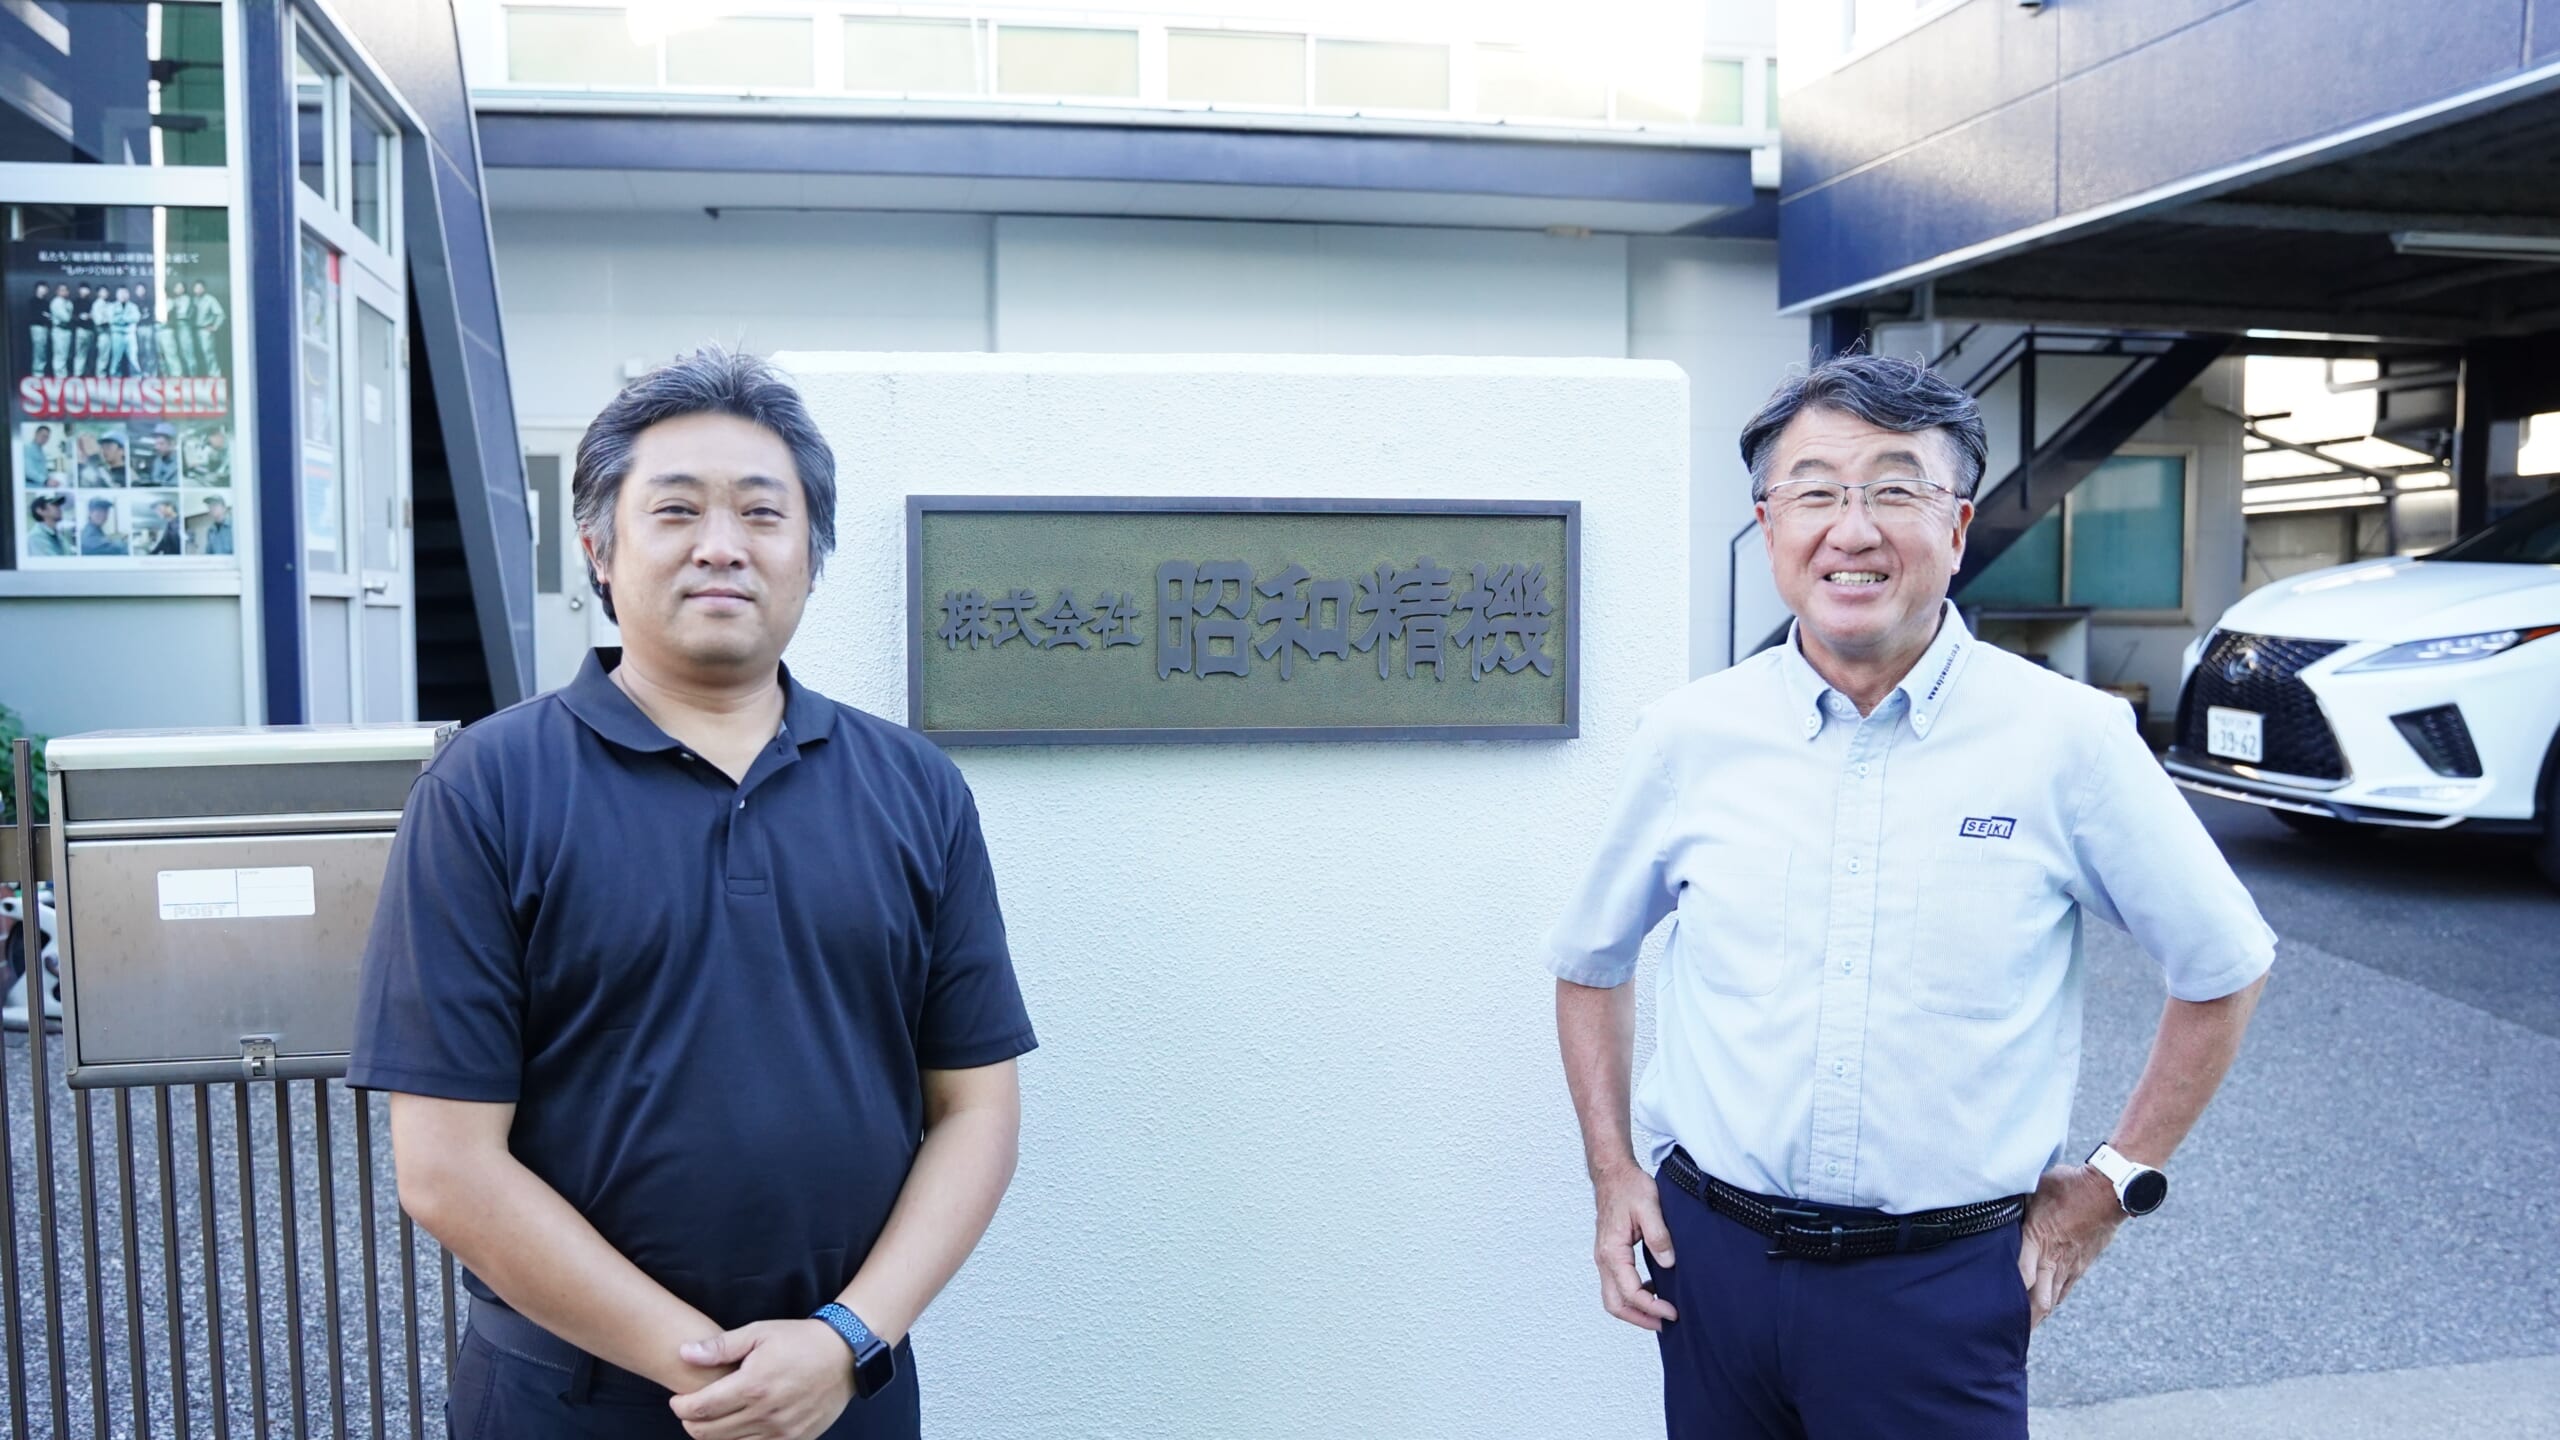
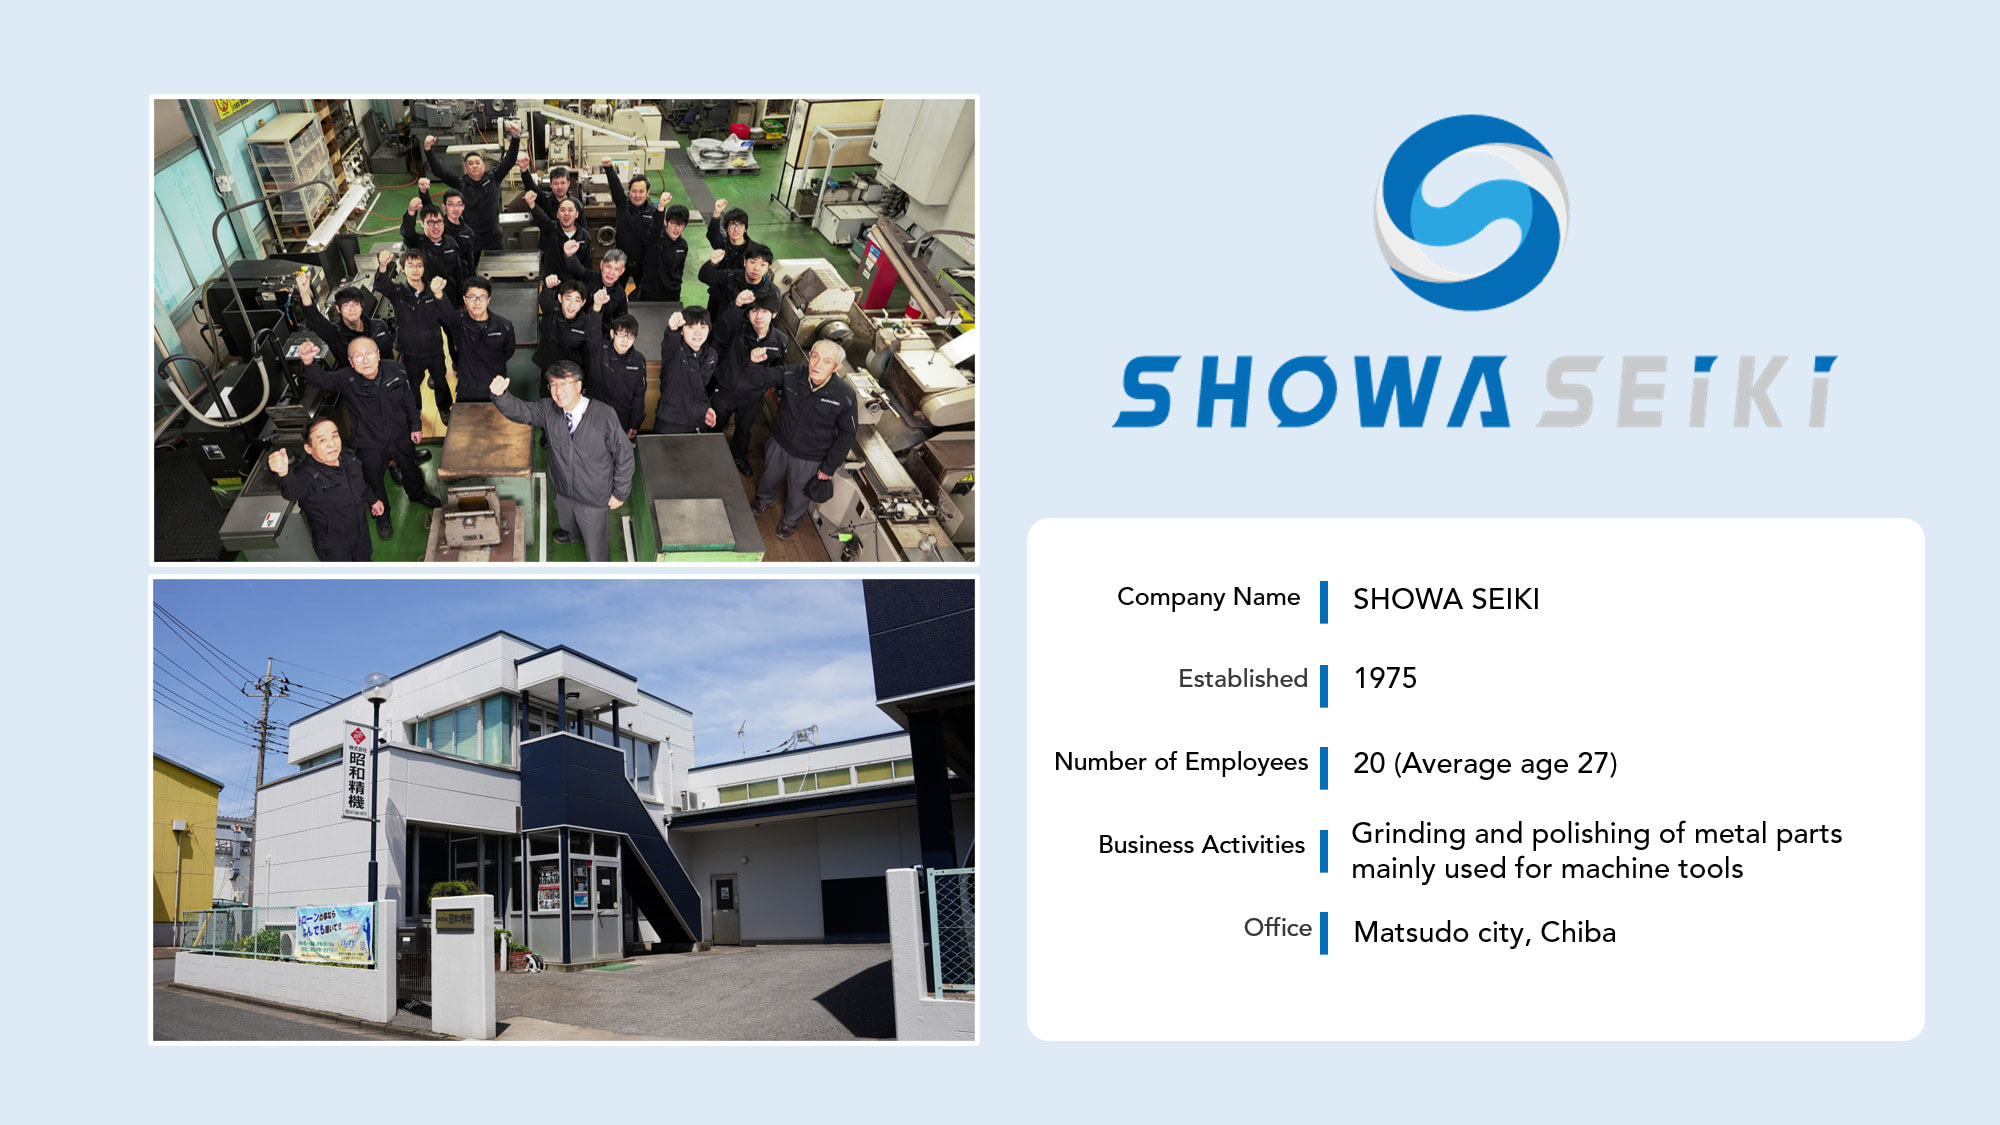
The interview was conducted with SHOWA SEIKI.
SHOWA SEIKI is engaged in a wide range of grinding and polishing processes for metal parts, mainly for machine tools.
SHOWA SEIKI receives many orders for inspection equipment parts, which require particularly strict precision, and its "high level of technology" is highly trusted by its customers.
What is Grinding and Polishing process?
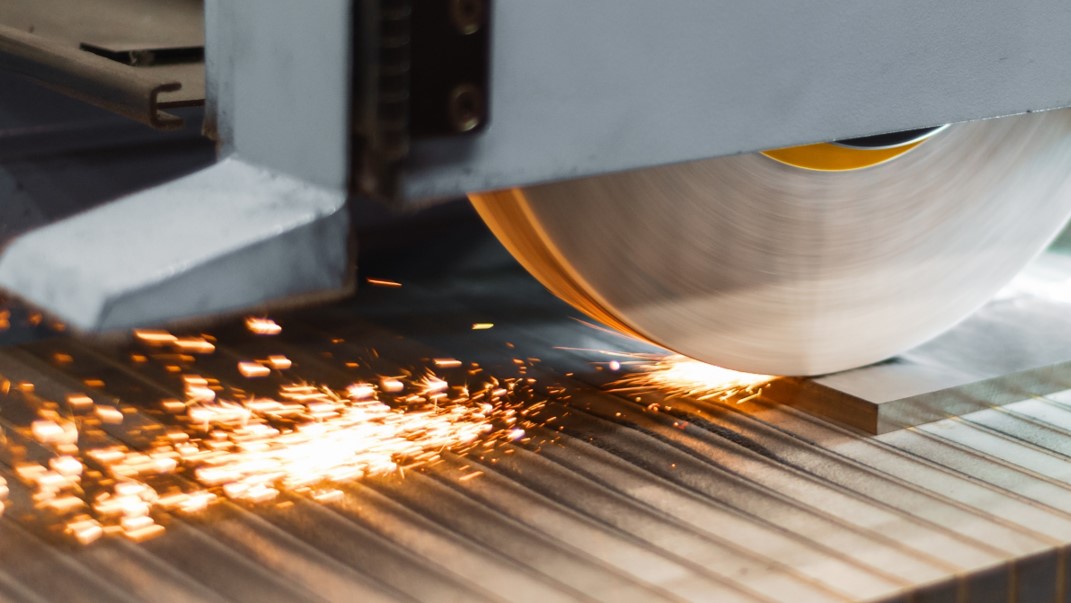
Grinding" is the final process of machining, and requires a strict accuracy of several microns because the quality of the workmanship is directly related to the quality of the product.
This process is also important in the manufacture of sliding surfaces for robots and precision parts used in the automotive and aircraft industries.
Grinding process = Precision machining that relies on skilled workers
In the grinding process, there are many areas that rely on "human senses" that cannot be measured numerically.
For example, sparks, sounds, smells, and the way bubbles in the grinding oil flow and swell, and so on
that occur when the grinding wheel comes into contact with the workpiece.
It requires a high level of technical skill backed by many years of experience.
It is said to be a particularly difficult field to master.
[Interview notes]
SHOWA SEIKI employees are young, with an average age of 27.
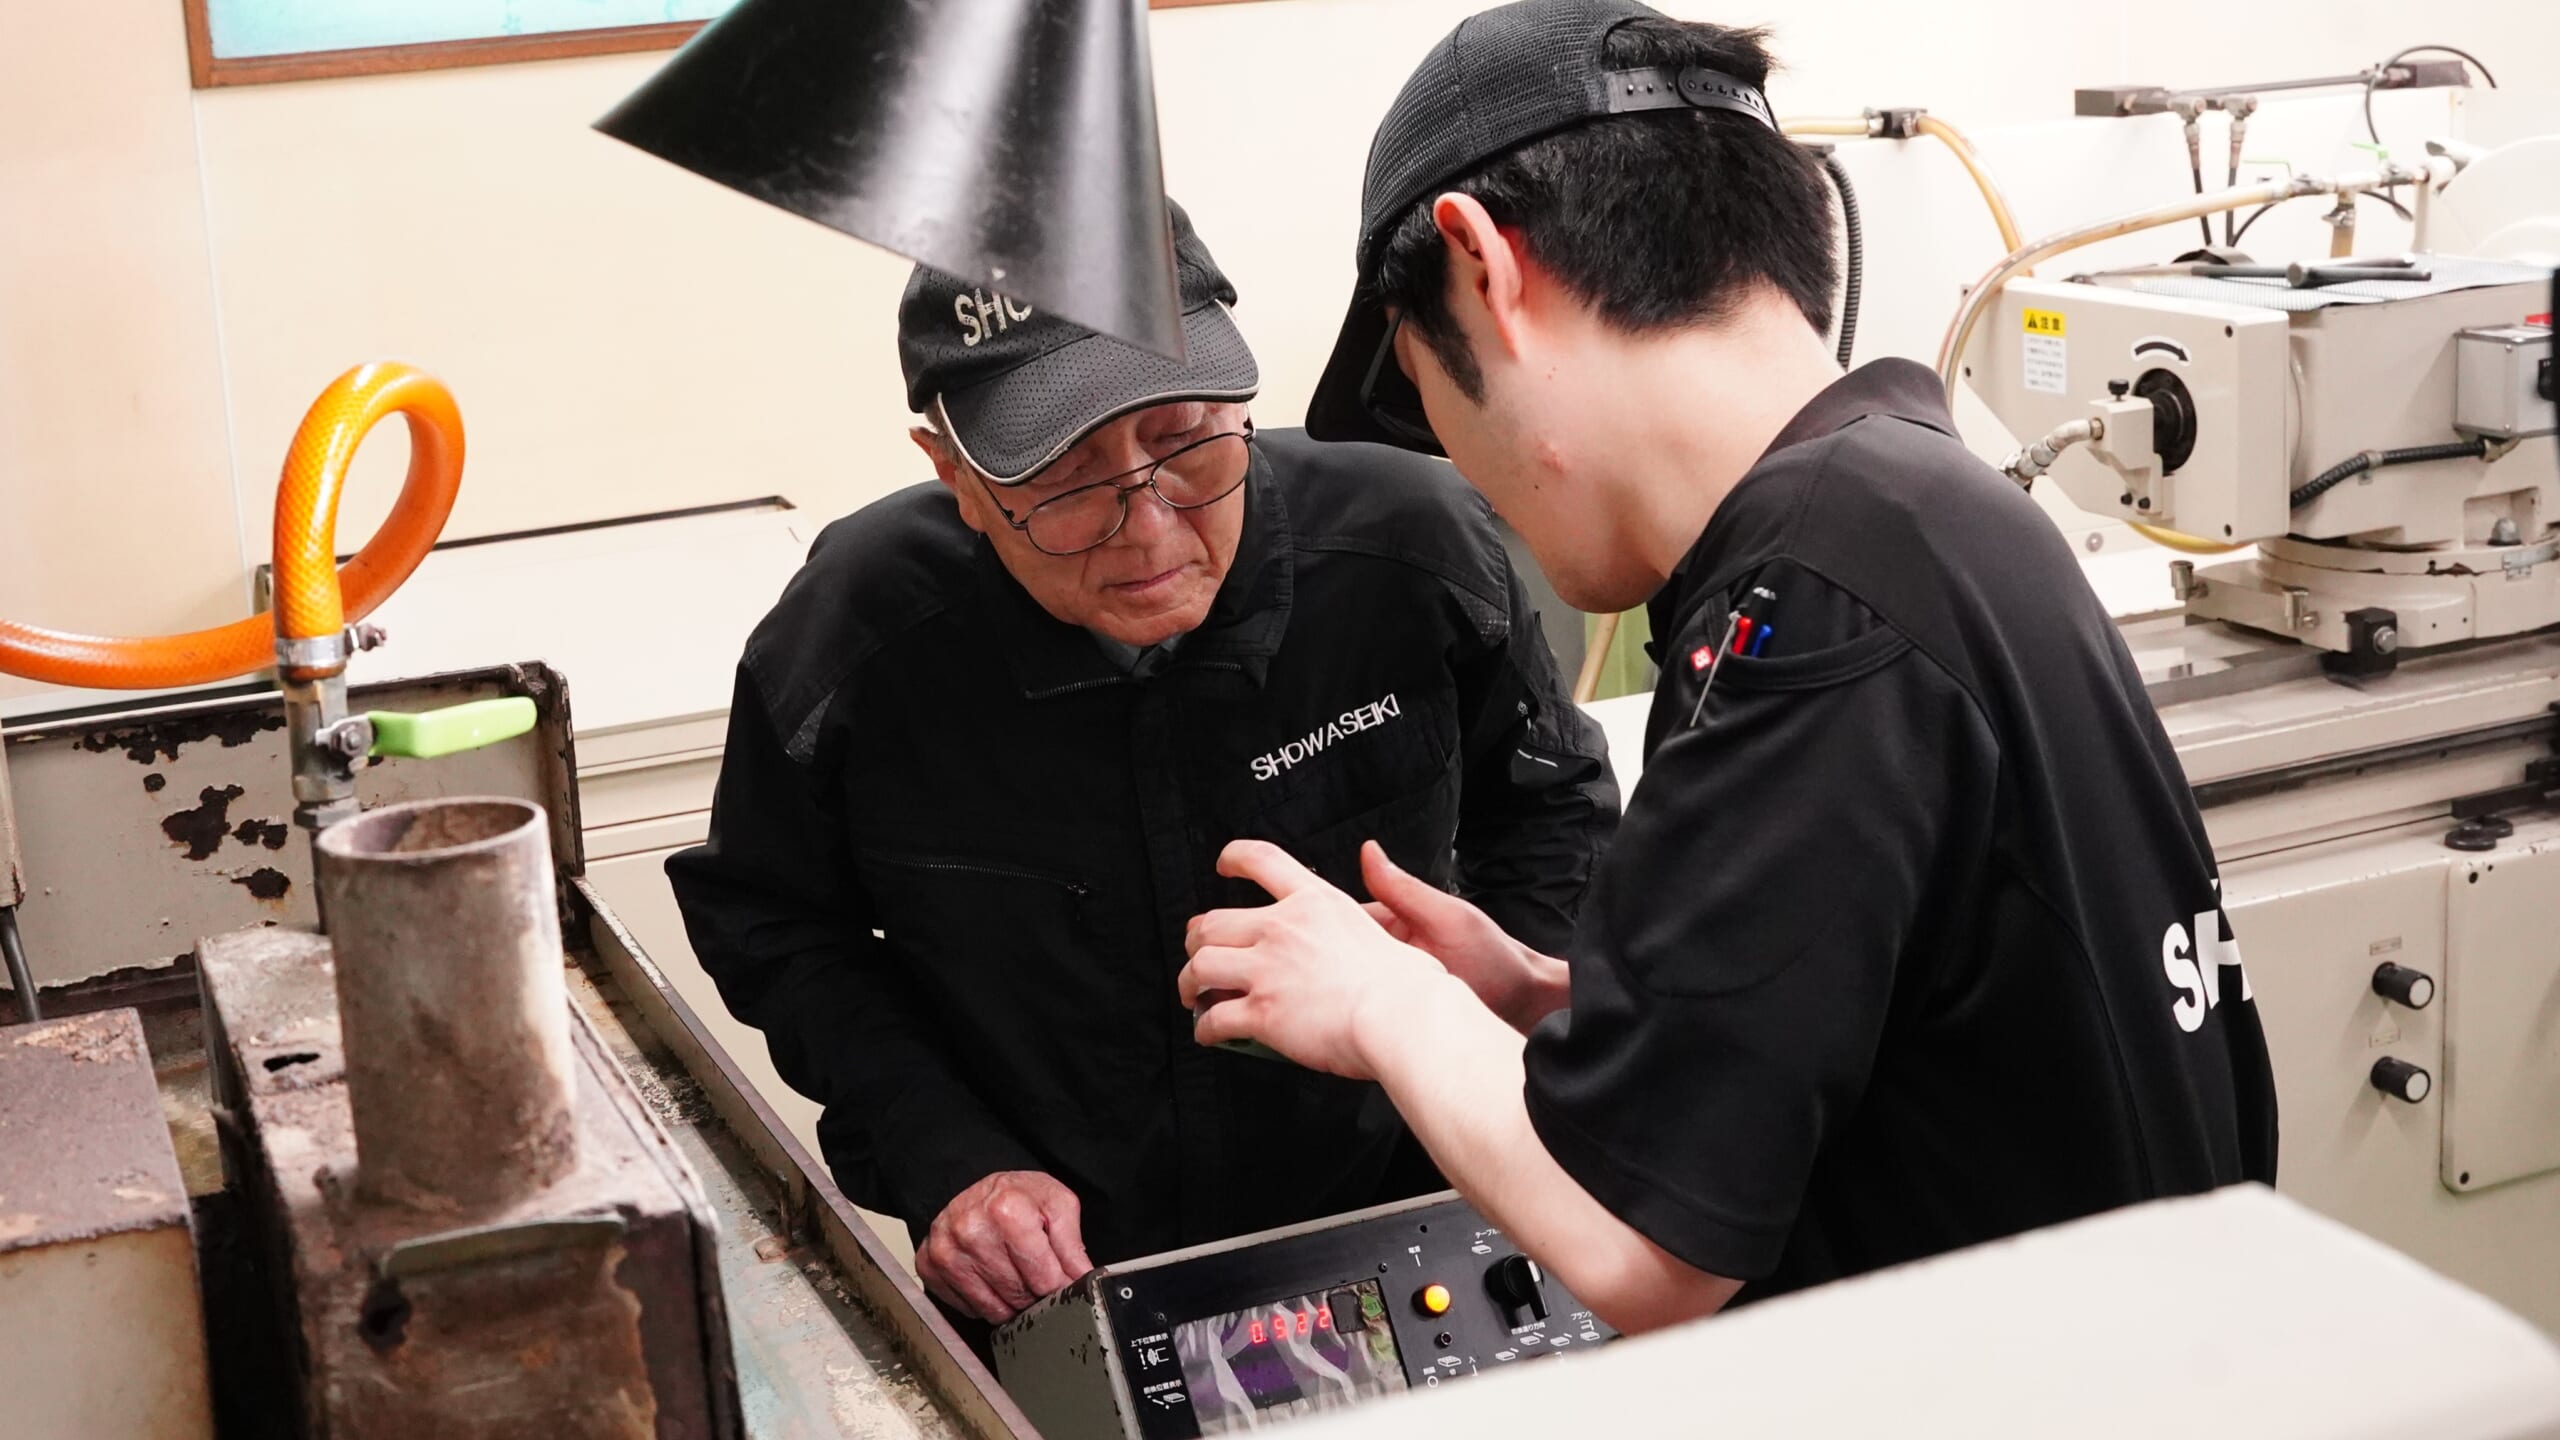
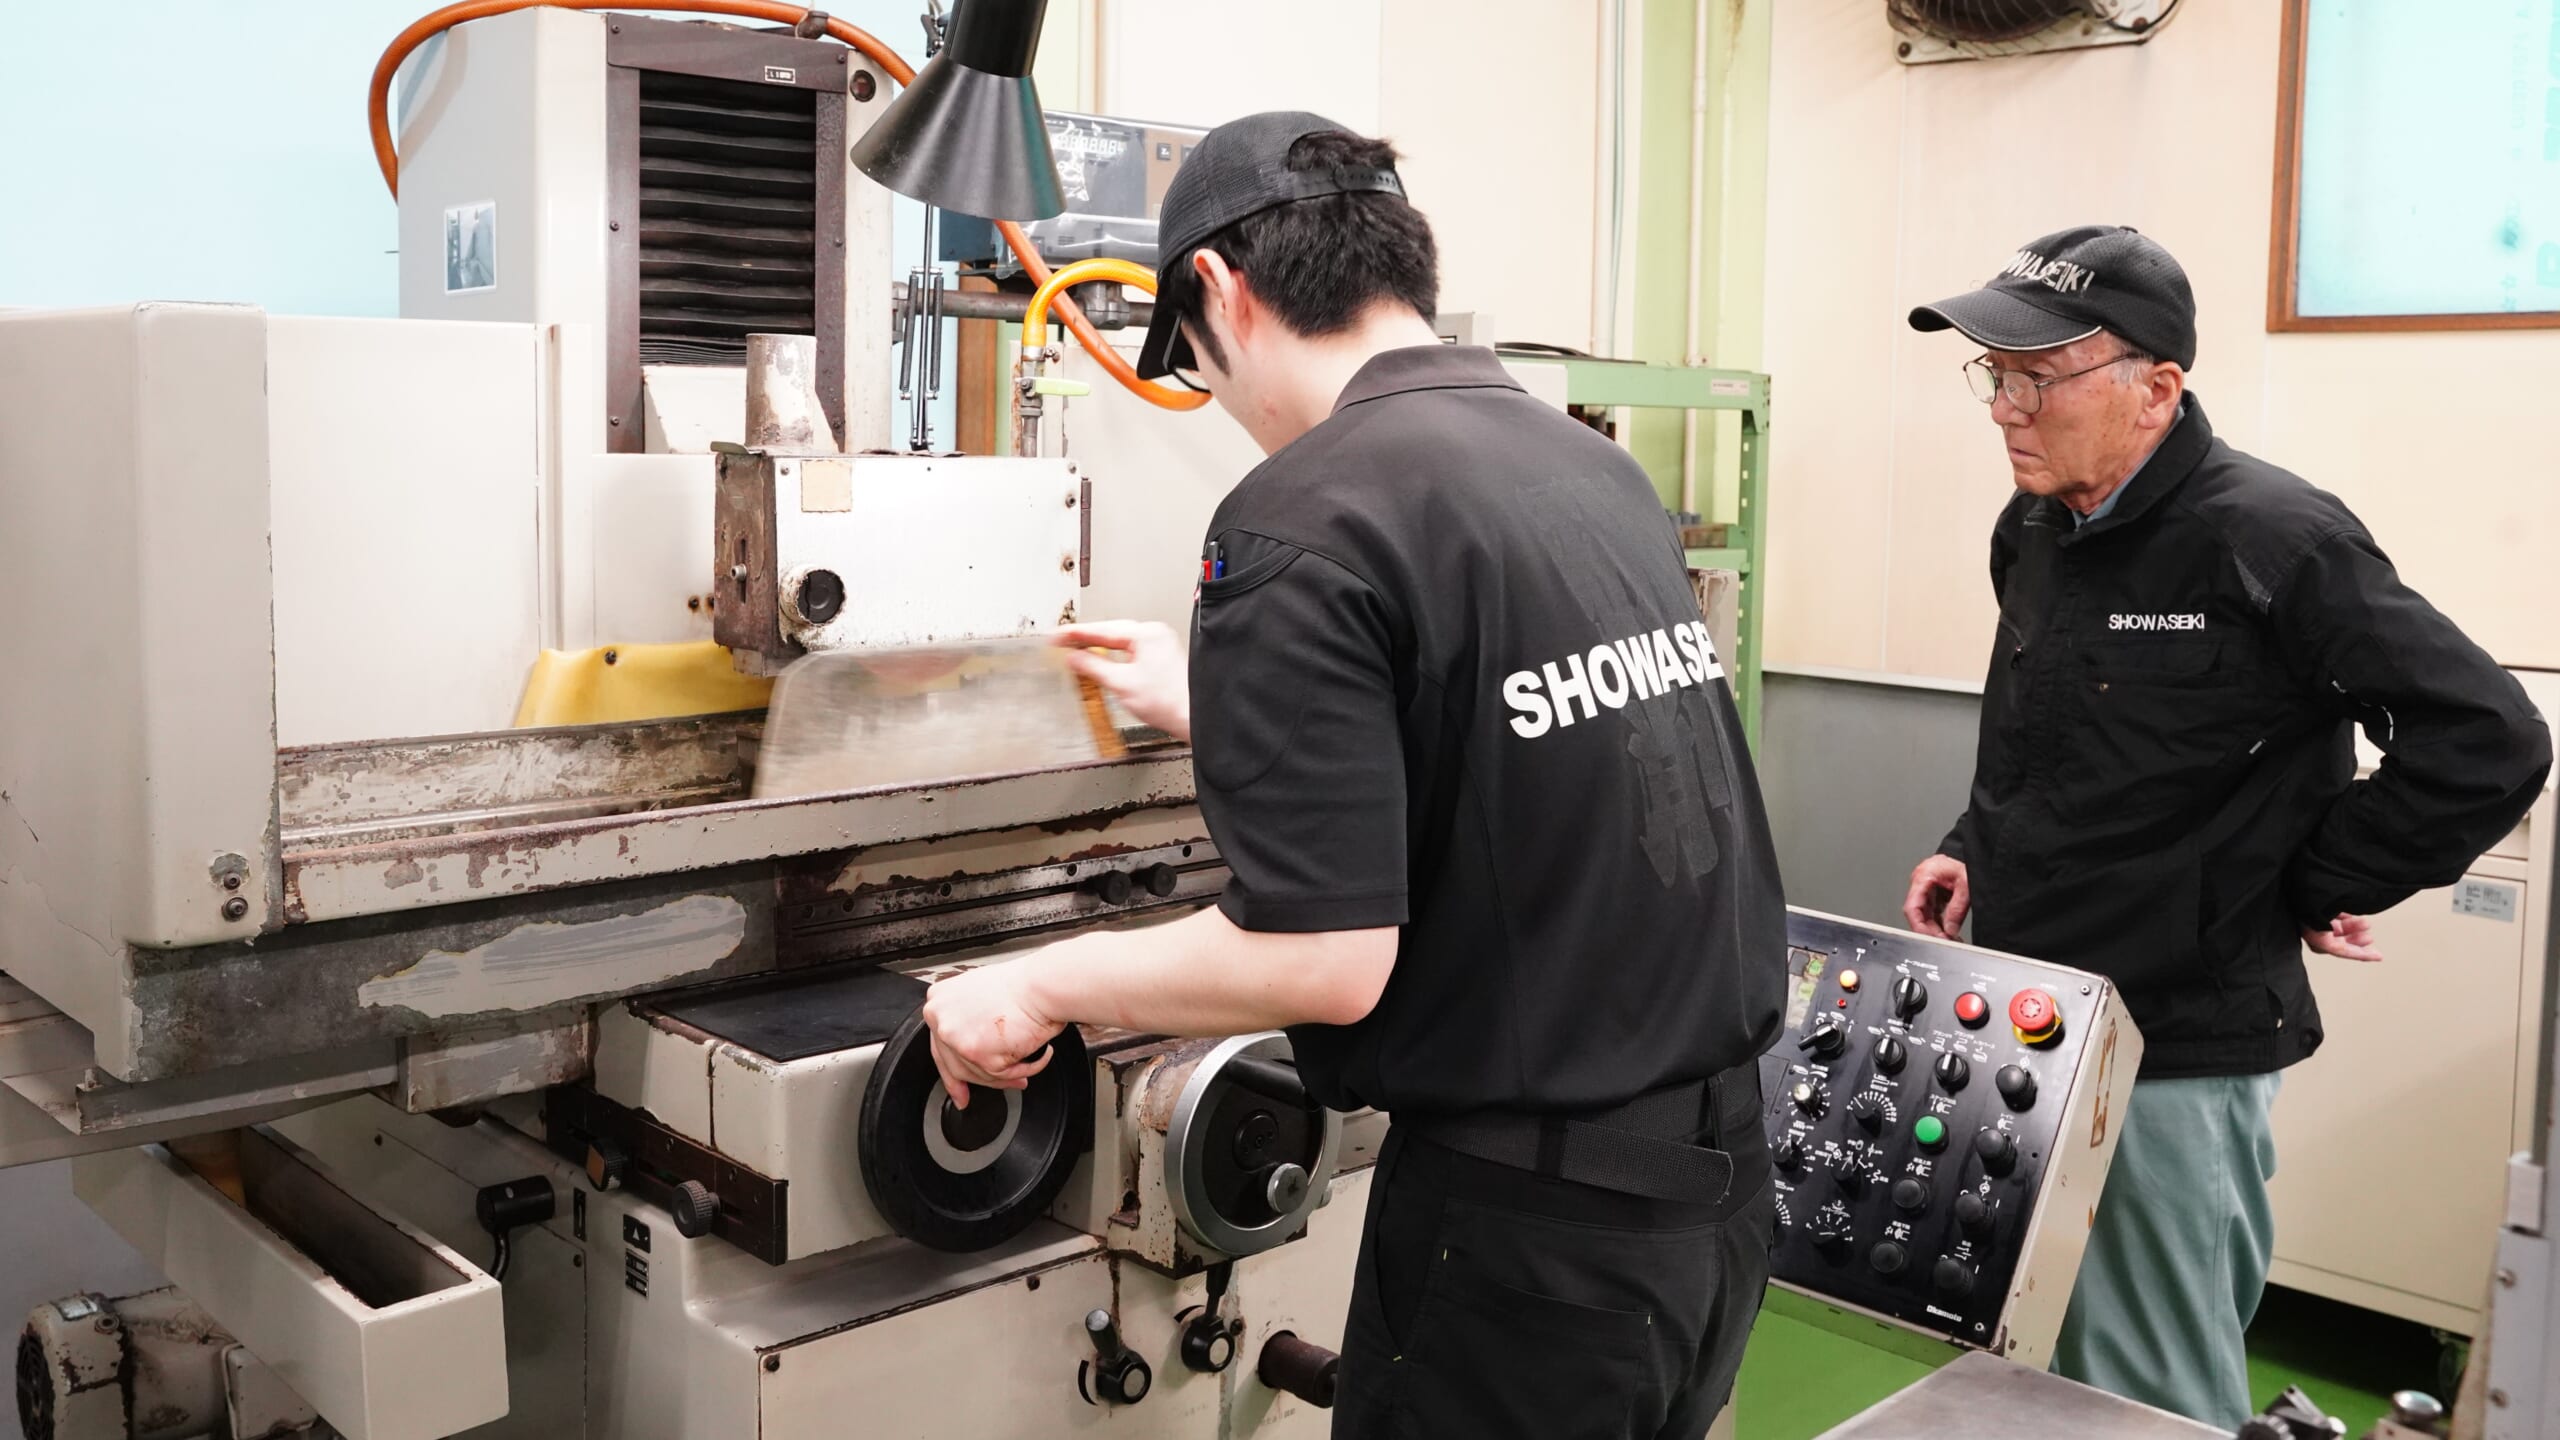
Experienced machinists in their 70s and 80s, who have supported the company since its founding in 1975, come to work twice a week to actively pass on grinding and polishing techniques to younger workers.
SHOWA SEIKI’s Challenge:
Balancing “Production Efficiency” and “Accuracy”
Want to reduce work time without sacrificing quality
Grinding accuracy is easily affected by (1)operator skill and (2)temperature.
It is not easy for small and medium-sized companies with limited funds and human resources to continue providing stable products.
SHOWA SEIKI's pursuit of perfect precision sometimes took more than twice the estimated work time.
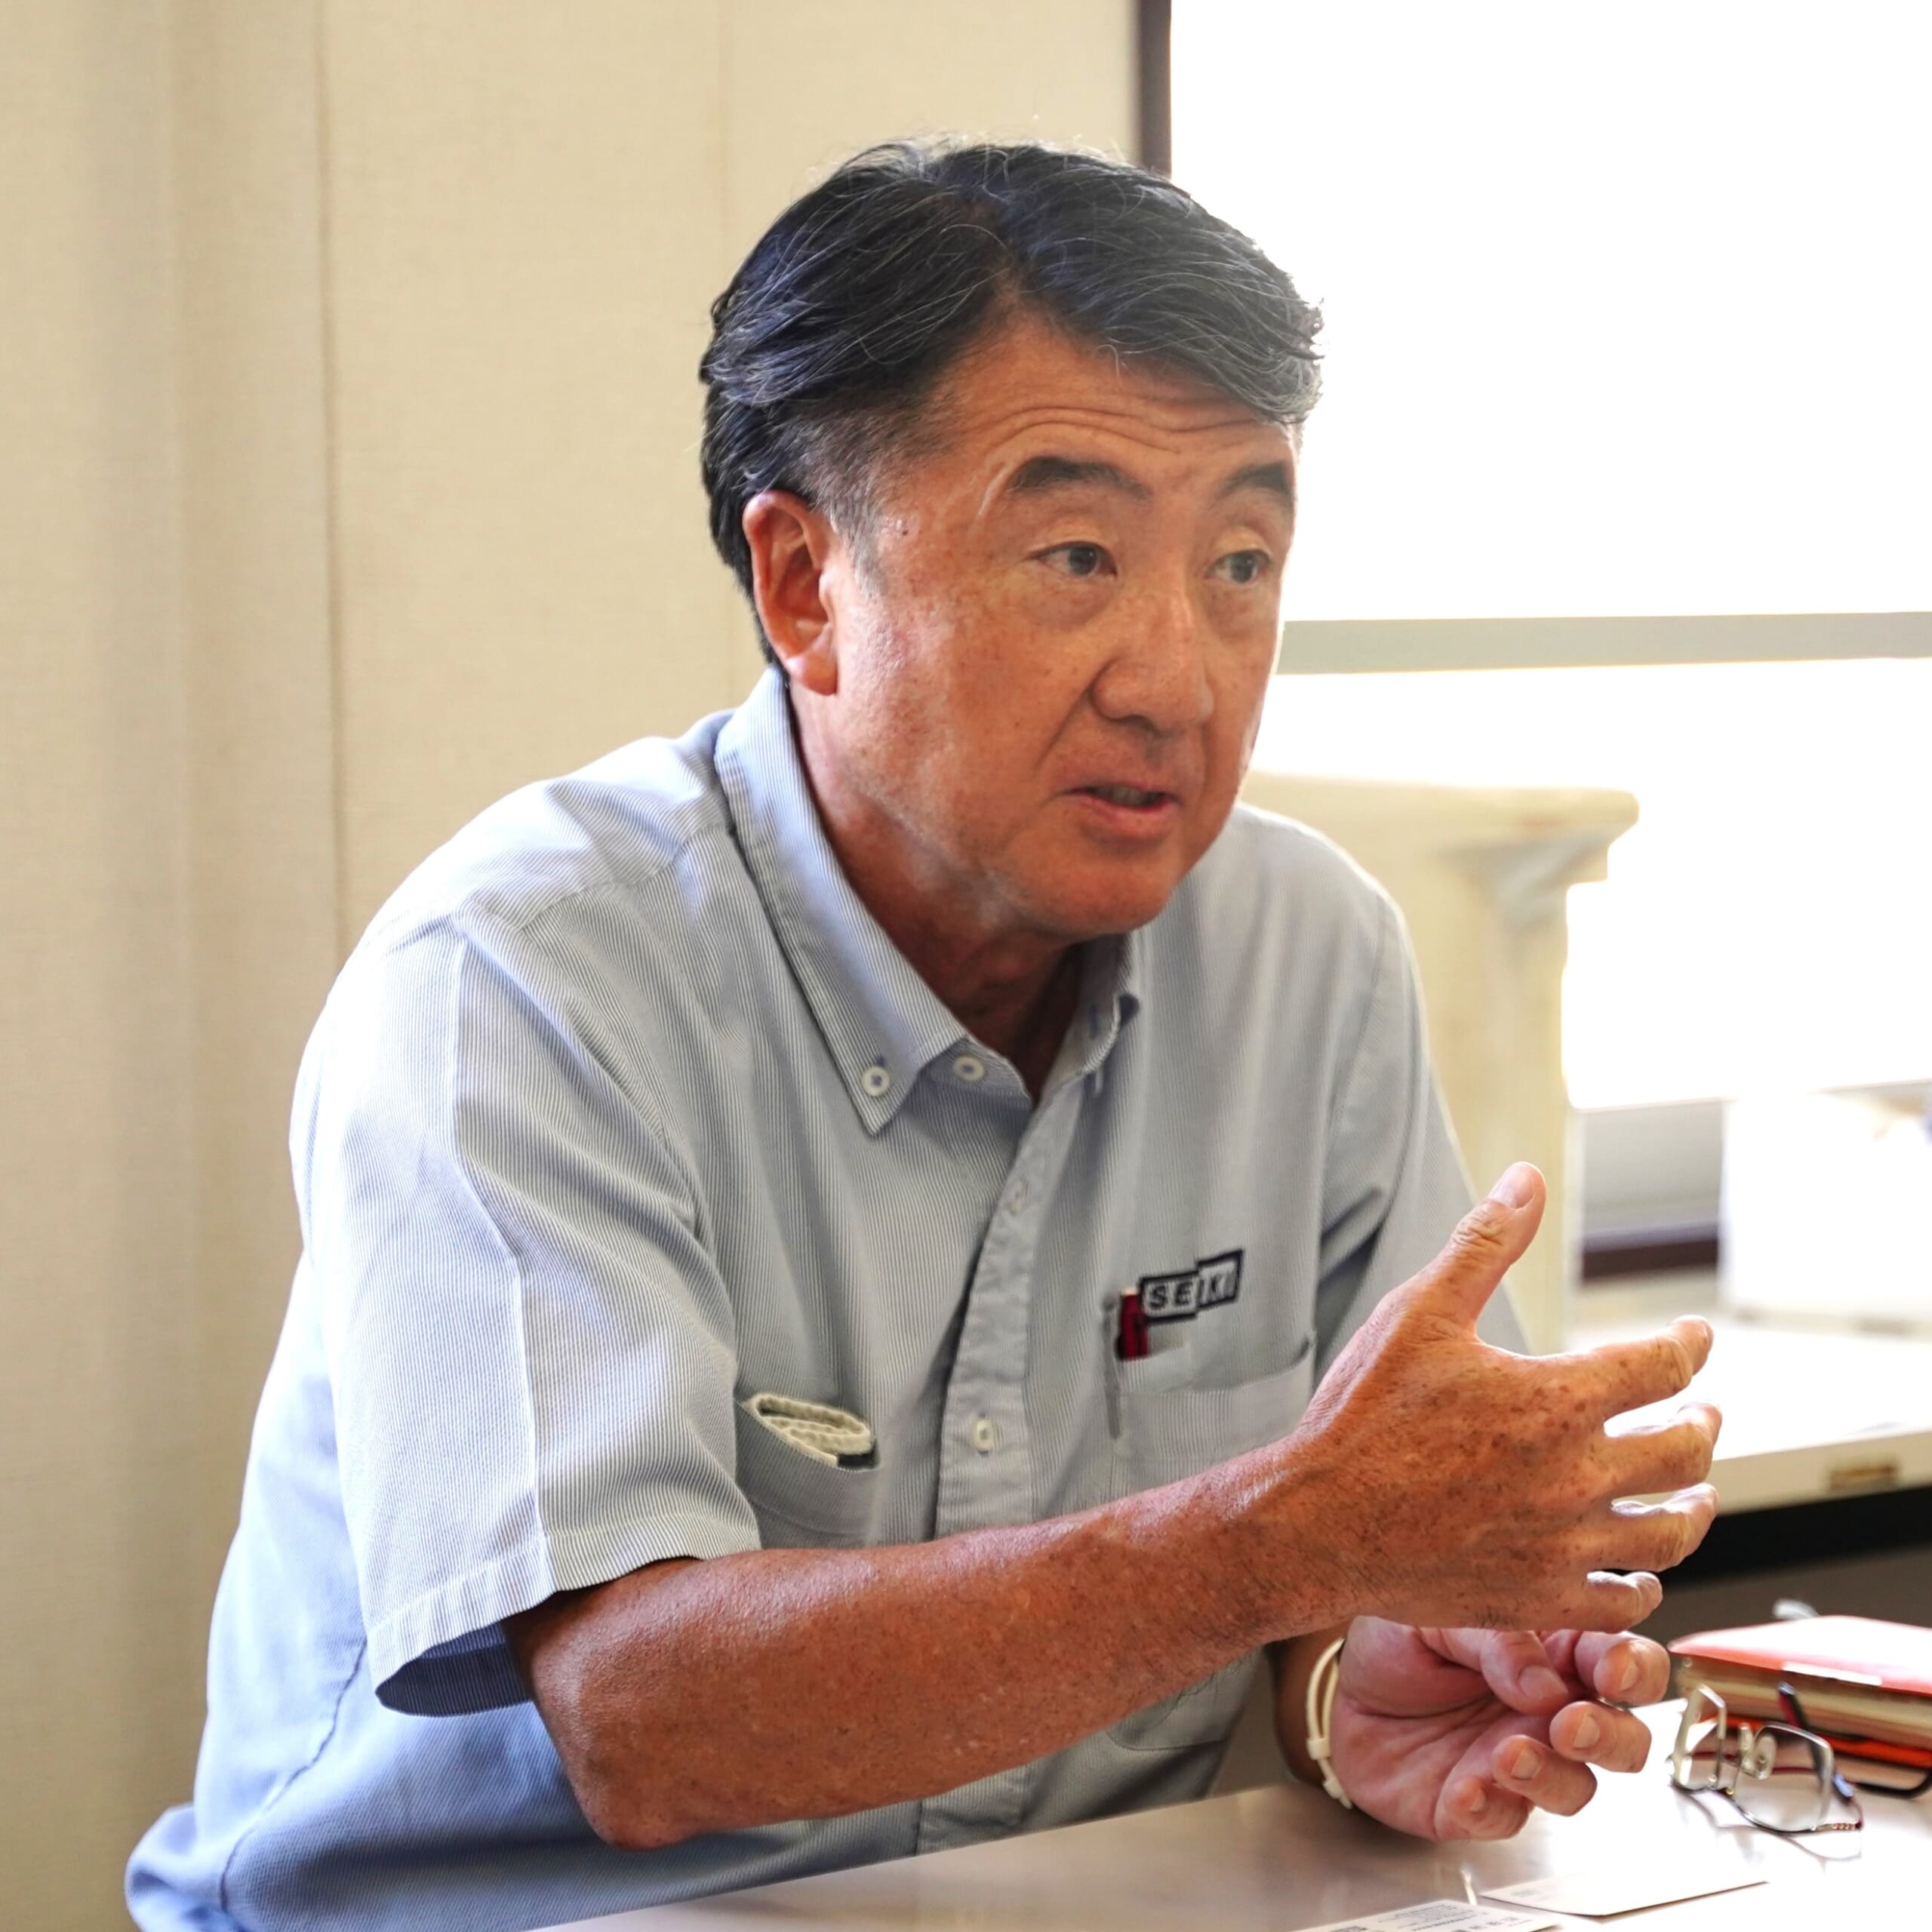
President Kobayashi:
Normally, a certain ± value is determined and the product is finished within the tolerance range, but our employees are all committed to "aiming for zero error at all costs".
General Manager Kazama:
"Showa Seiki parts are better than anywhere else!"
"The workpiece dimensions are perfectly aligned, so assembly is quick."
When a customer compliments us on our accuracy in this way, we are happy at the time, but when we return to the office, we may find that the work time has been pushed beyond our estimate and we have to rush our employees.
Conventional Issue:
“Setup work” and “Additional machining”
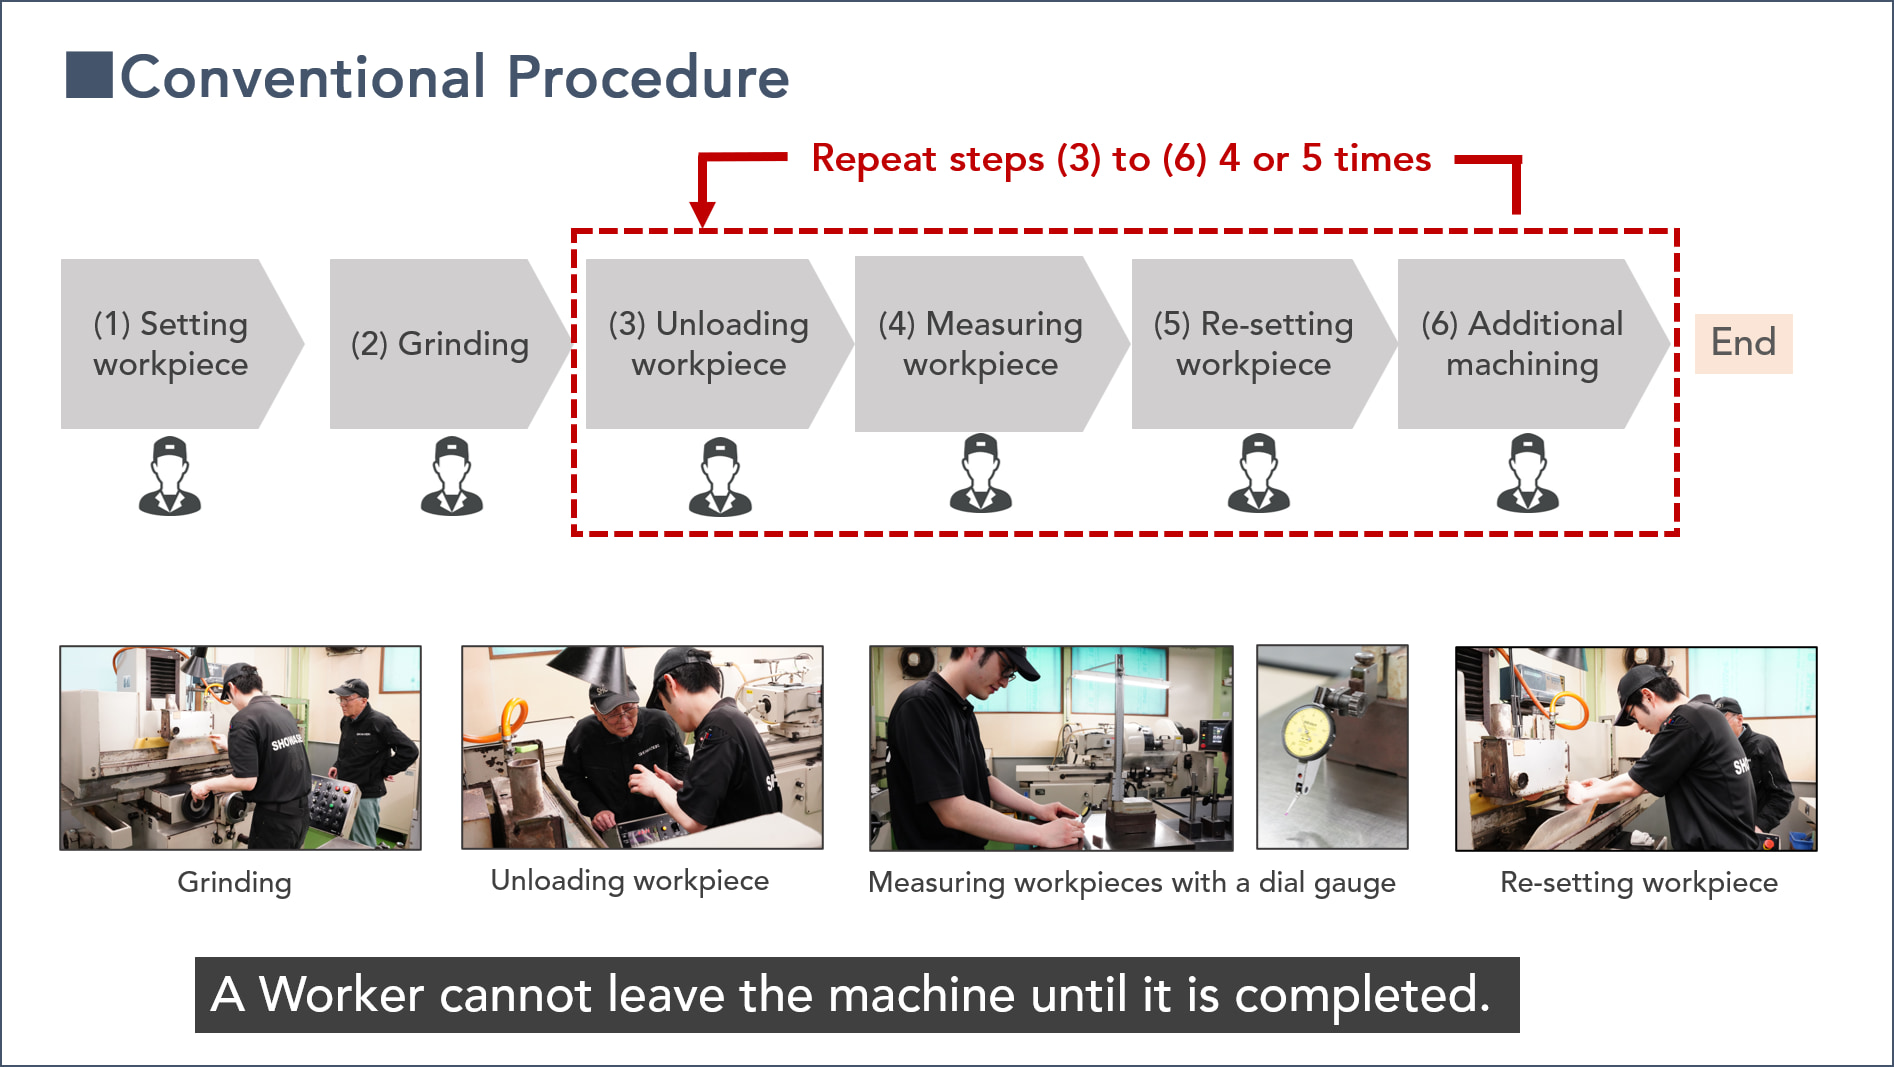
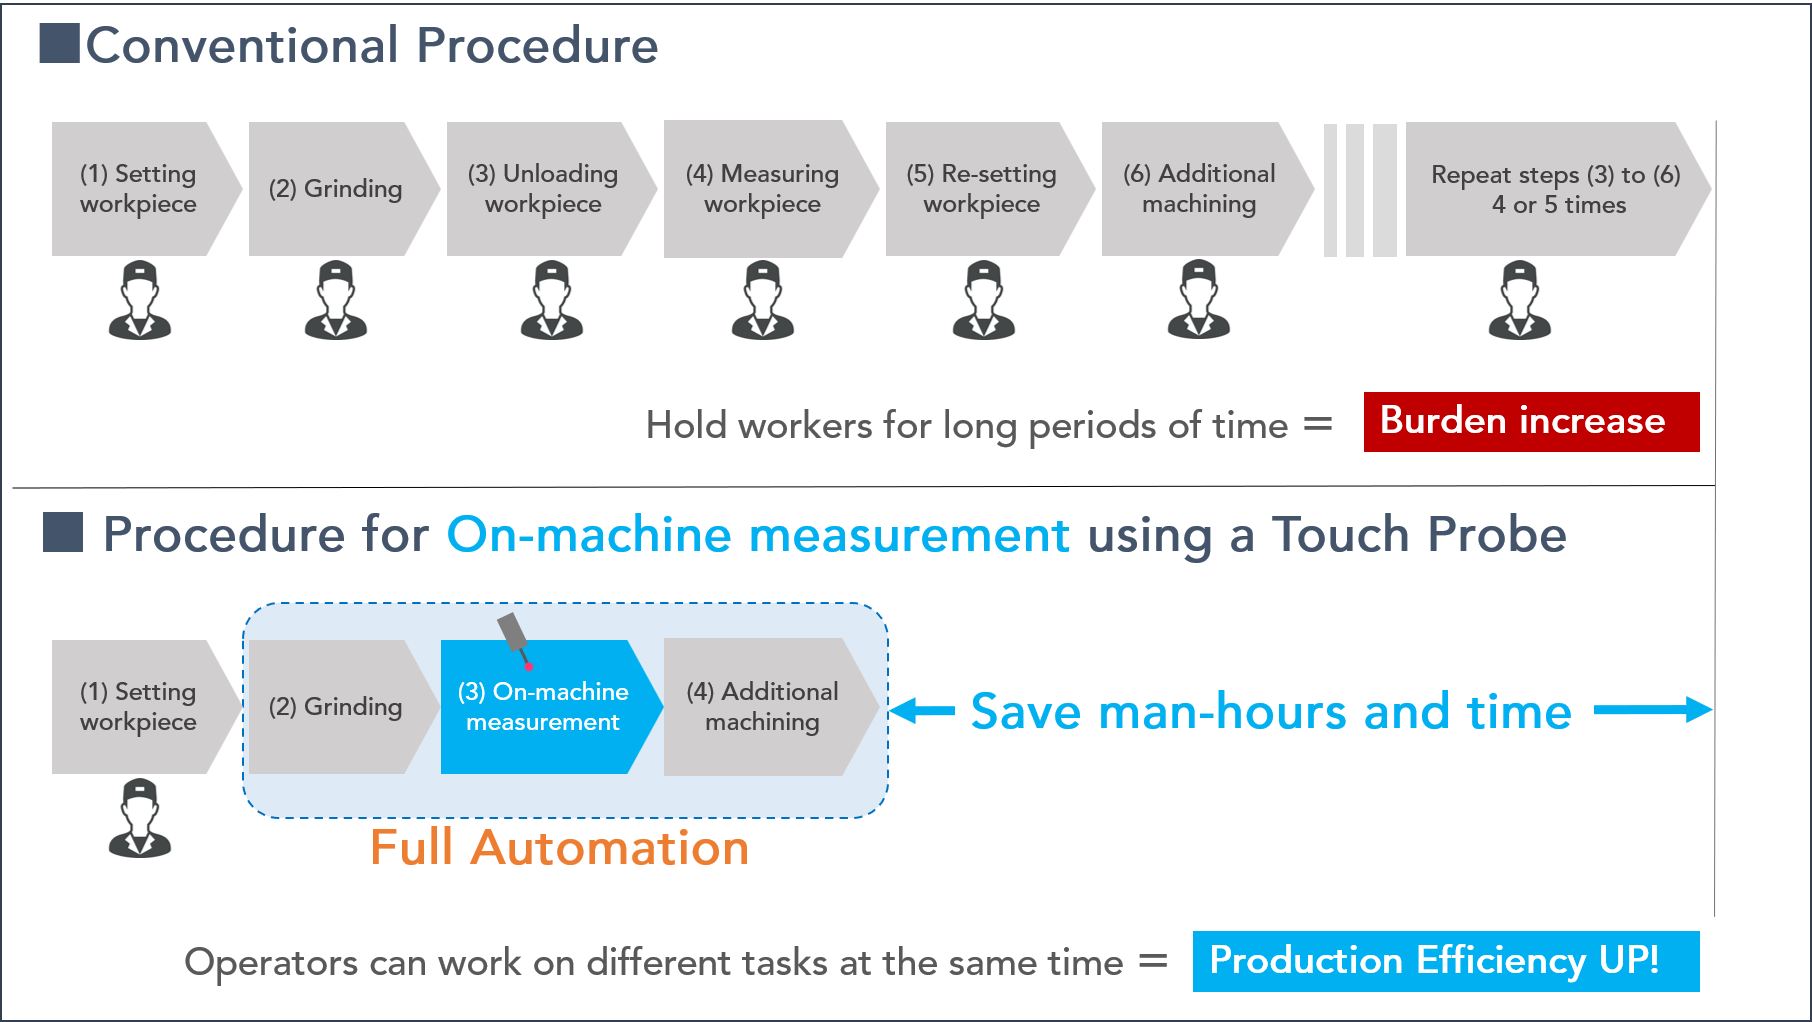
In the past, SHOWA SEIKI had to repeat the following process four or five times per workpiece surface, and was troubled by the man-hours required to pursue quality.
・The operator unloads workpiece from grinder.
・The operator measures workpiece with dial gauge.
・The operator sets the workpiece on the grinder again.
・ The operator performs additional machining.
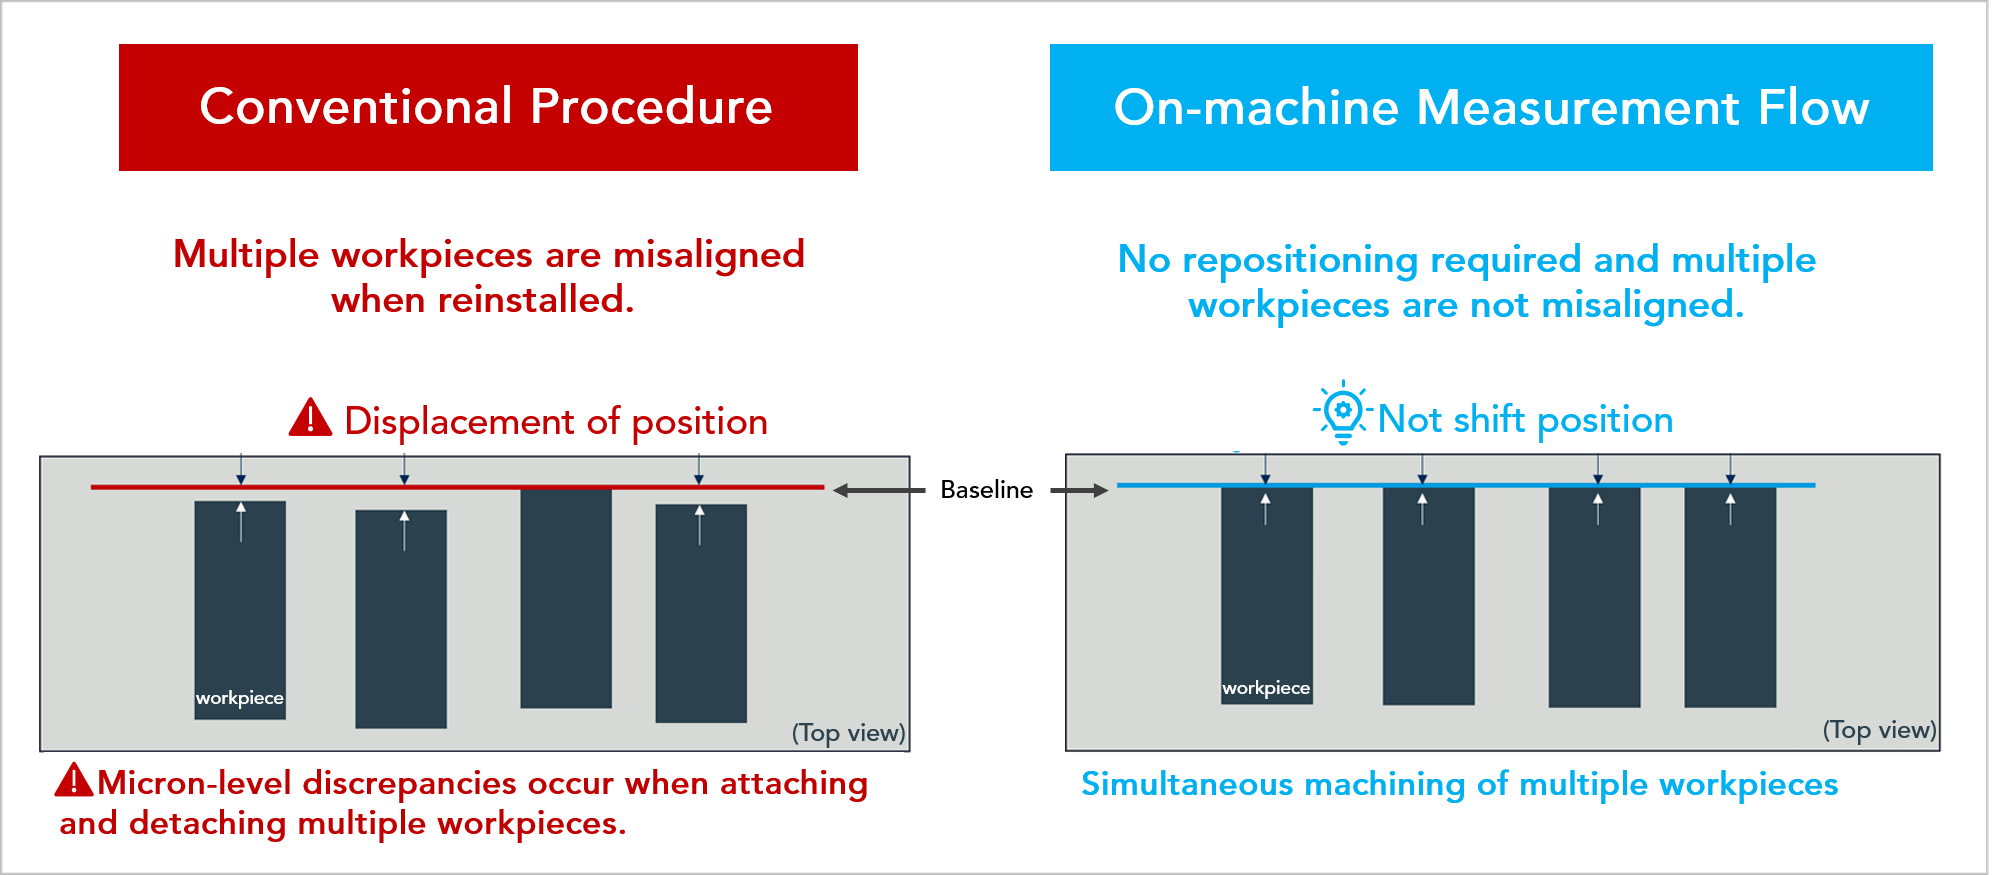
In addition, President Kobayashi was aware of the problem of "positioning accuracy (repeatability)" when re-setting workpieces.
This is the "misalignment of machining positions" that occurs when attaching and detaching workpieces.
Once a workpiece is unloaded from the machine for measurement, it is impossible to manually reset the machining origin to "zero" for reinstallation.
They have been searching for many years for a way to reduce work time while ensuring accuracy.
Challenges arising from conventional process
- Manpower and time costs of attaching and detaching workpieces from the machine for measurement
- Accuracy in reproduction of the machining origin caused by attaching and detaching of workpieces
Decisive Factor in the Introduction of “On-machine Measurement of Grinding Machines”
We wanted a sensor that could complete grinding and measurement on the machine.
For many years, President Kobayashi had inquired with various grinder manufacturers for on-machine measurement applications, but they kept rejecting him, saying that they did not have sensors that could ensure accuracy.
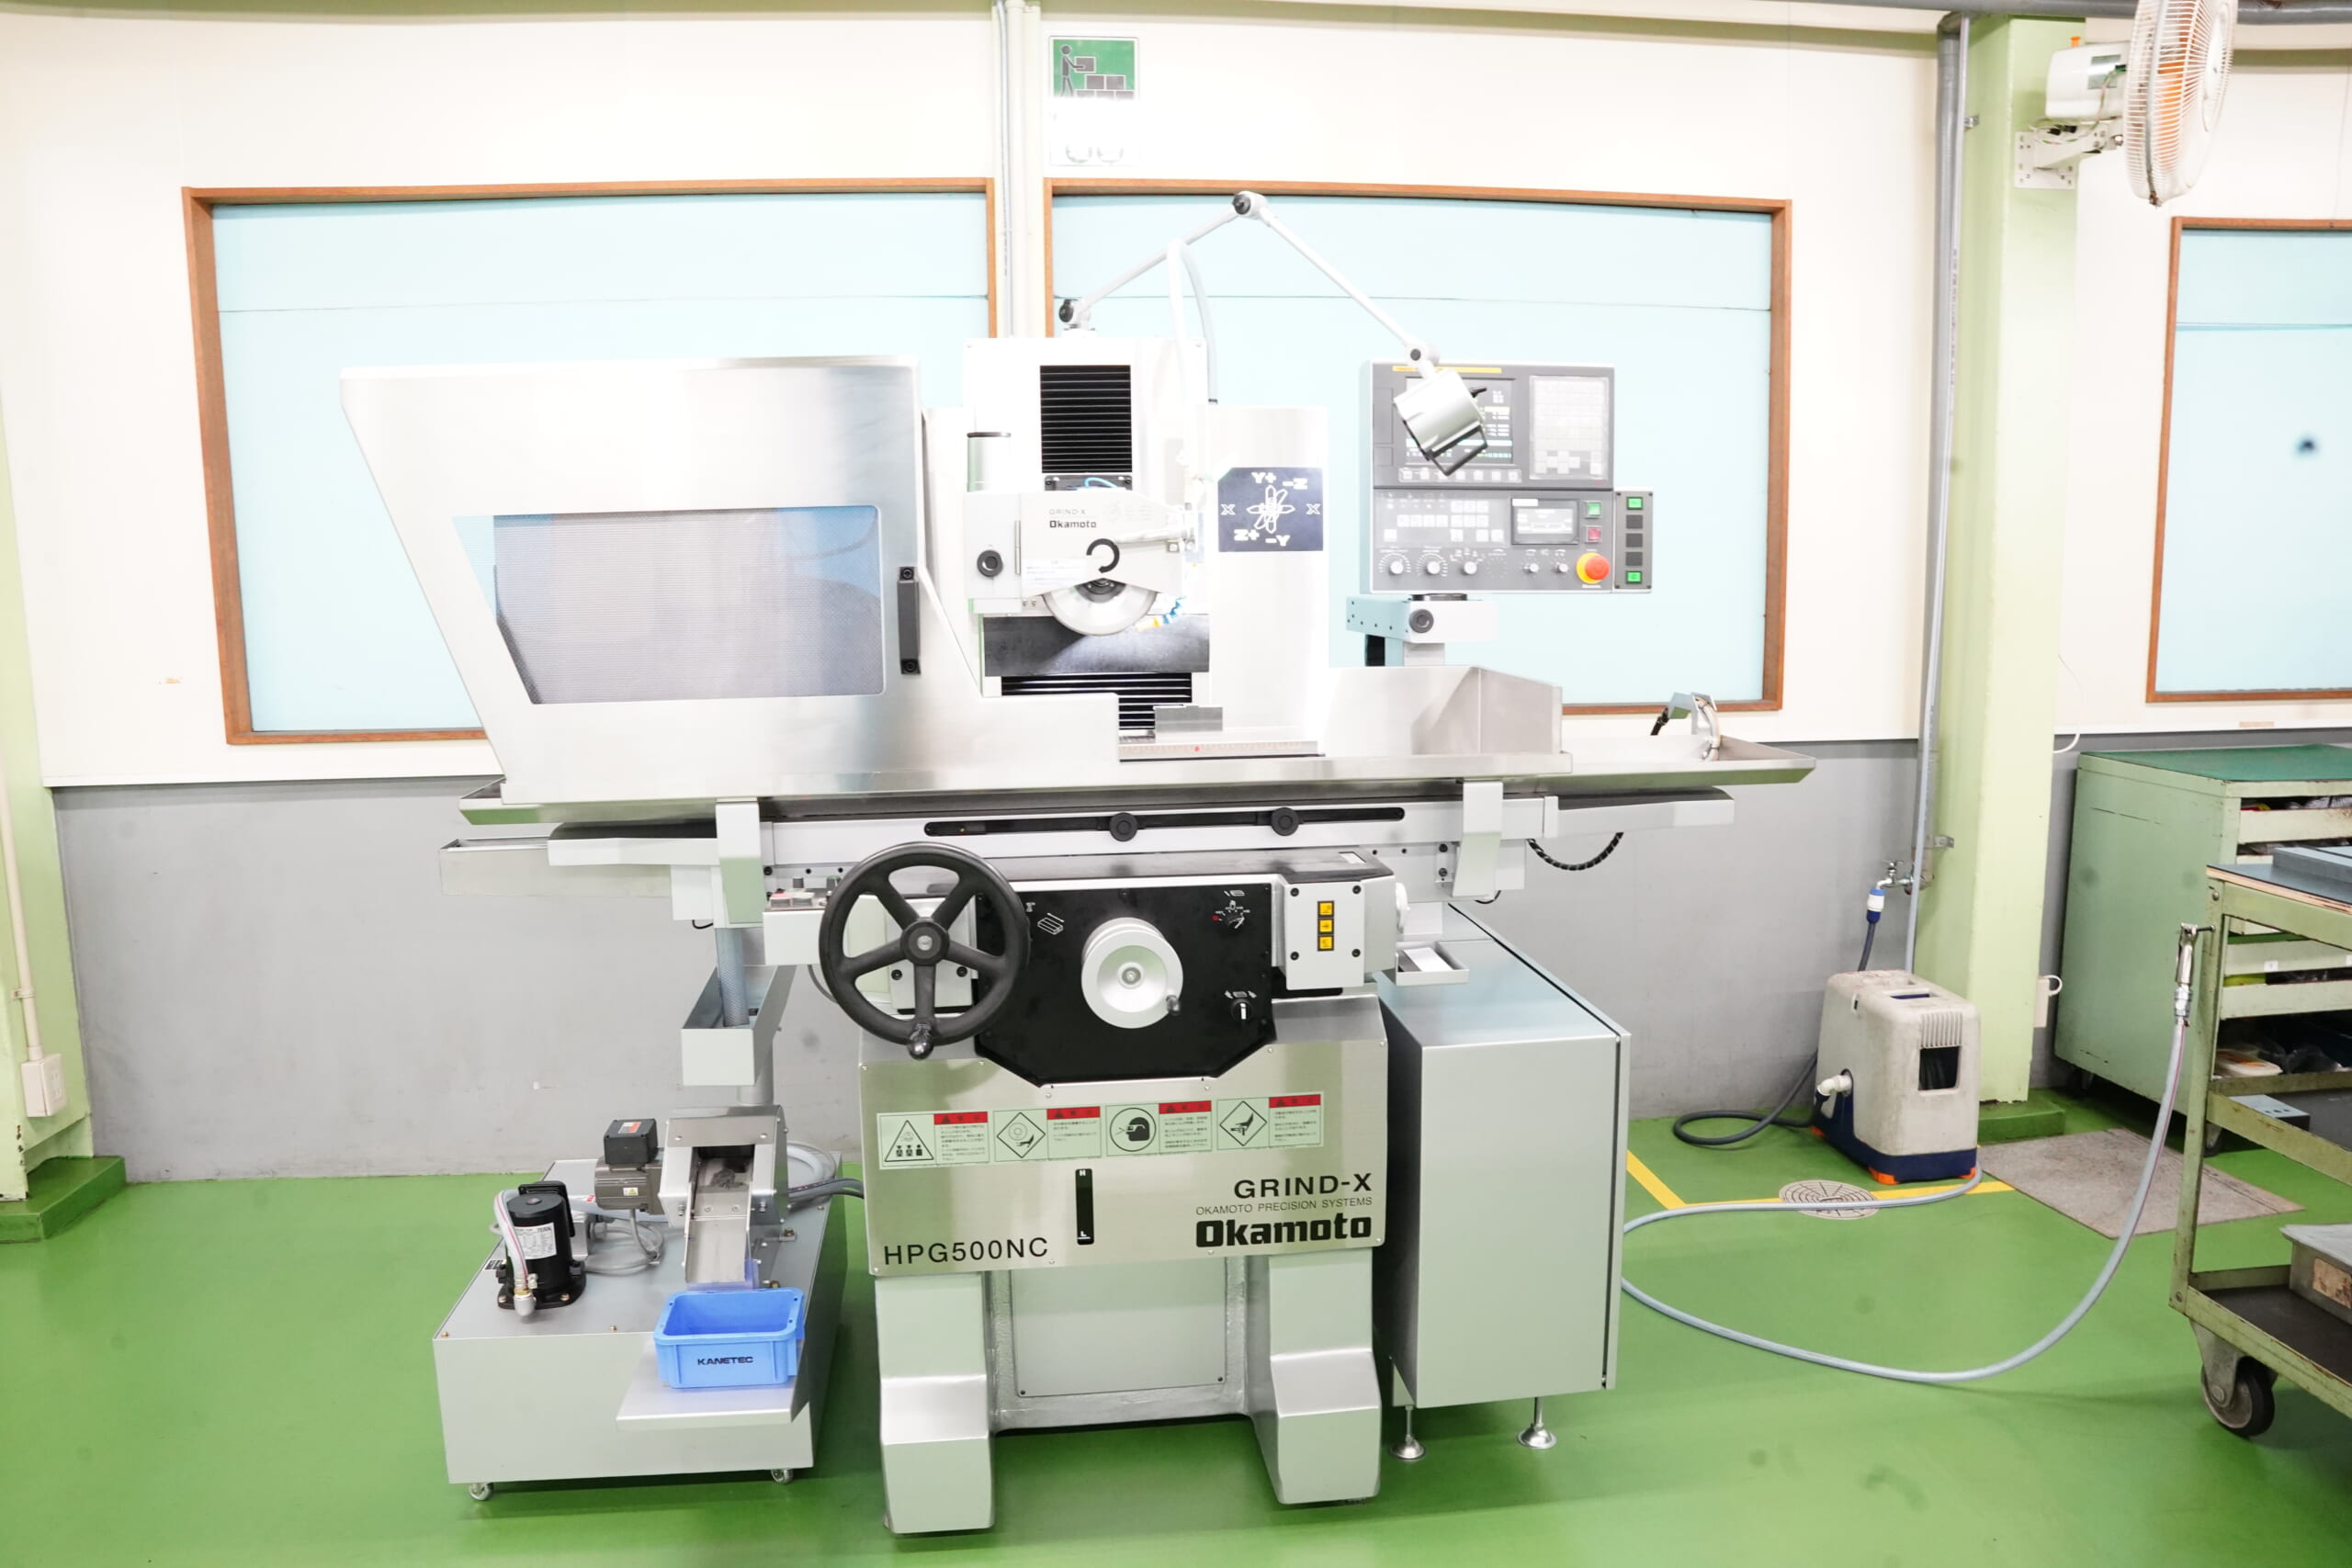
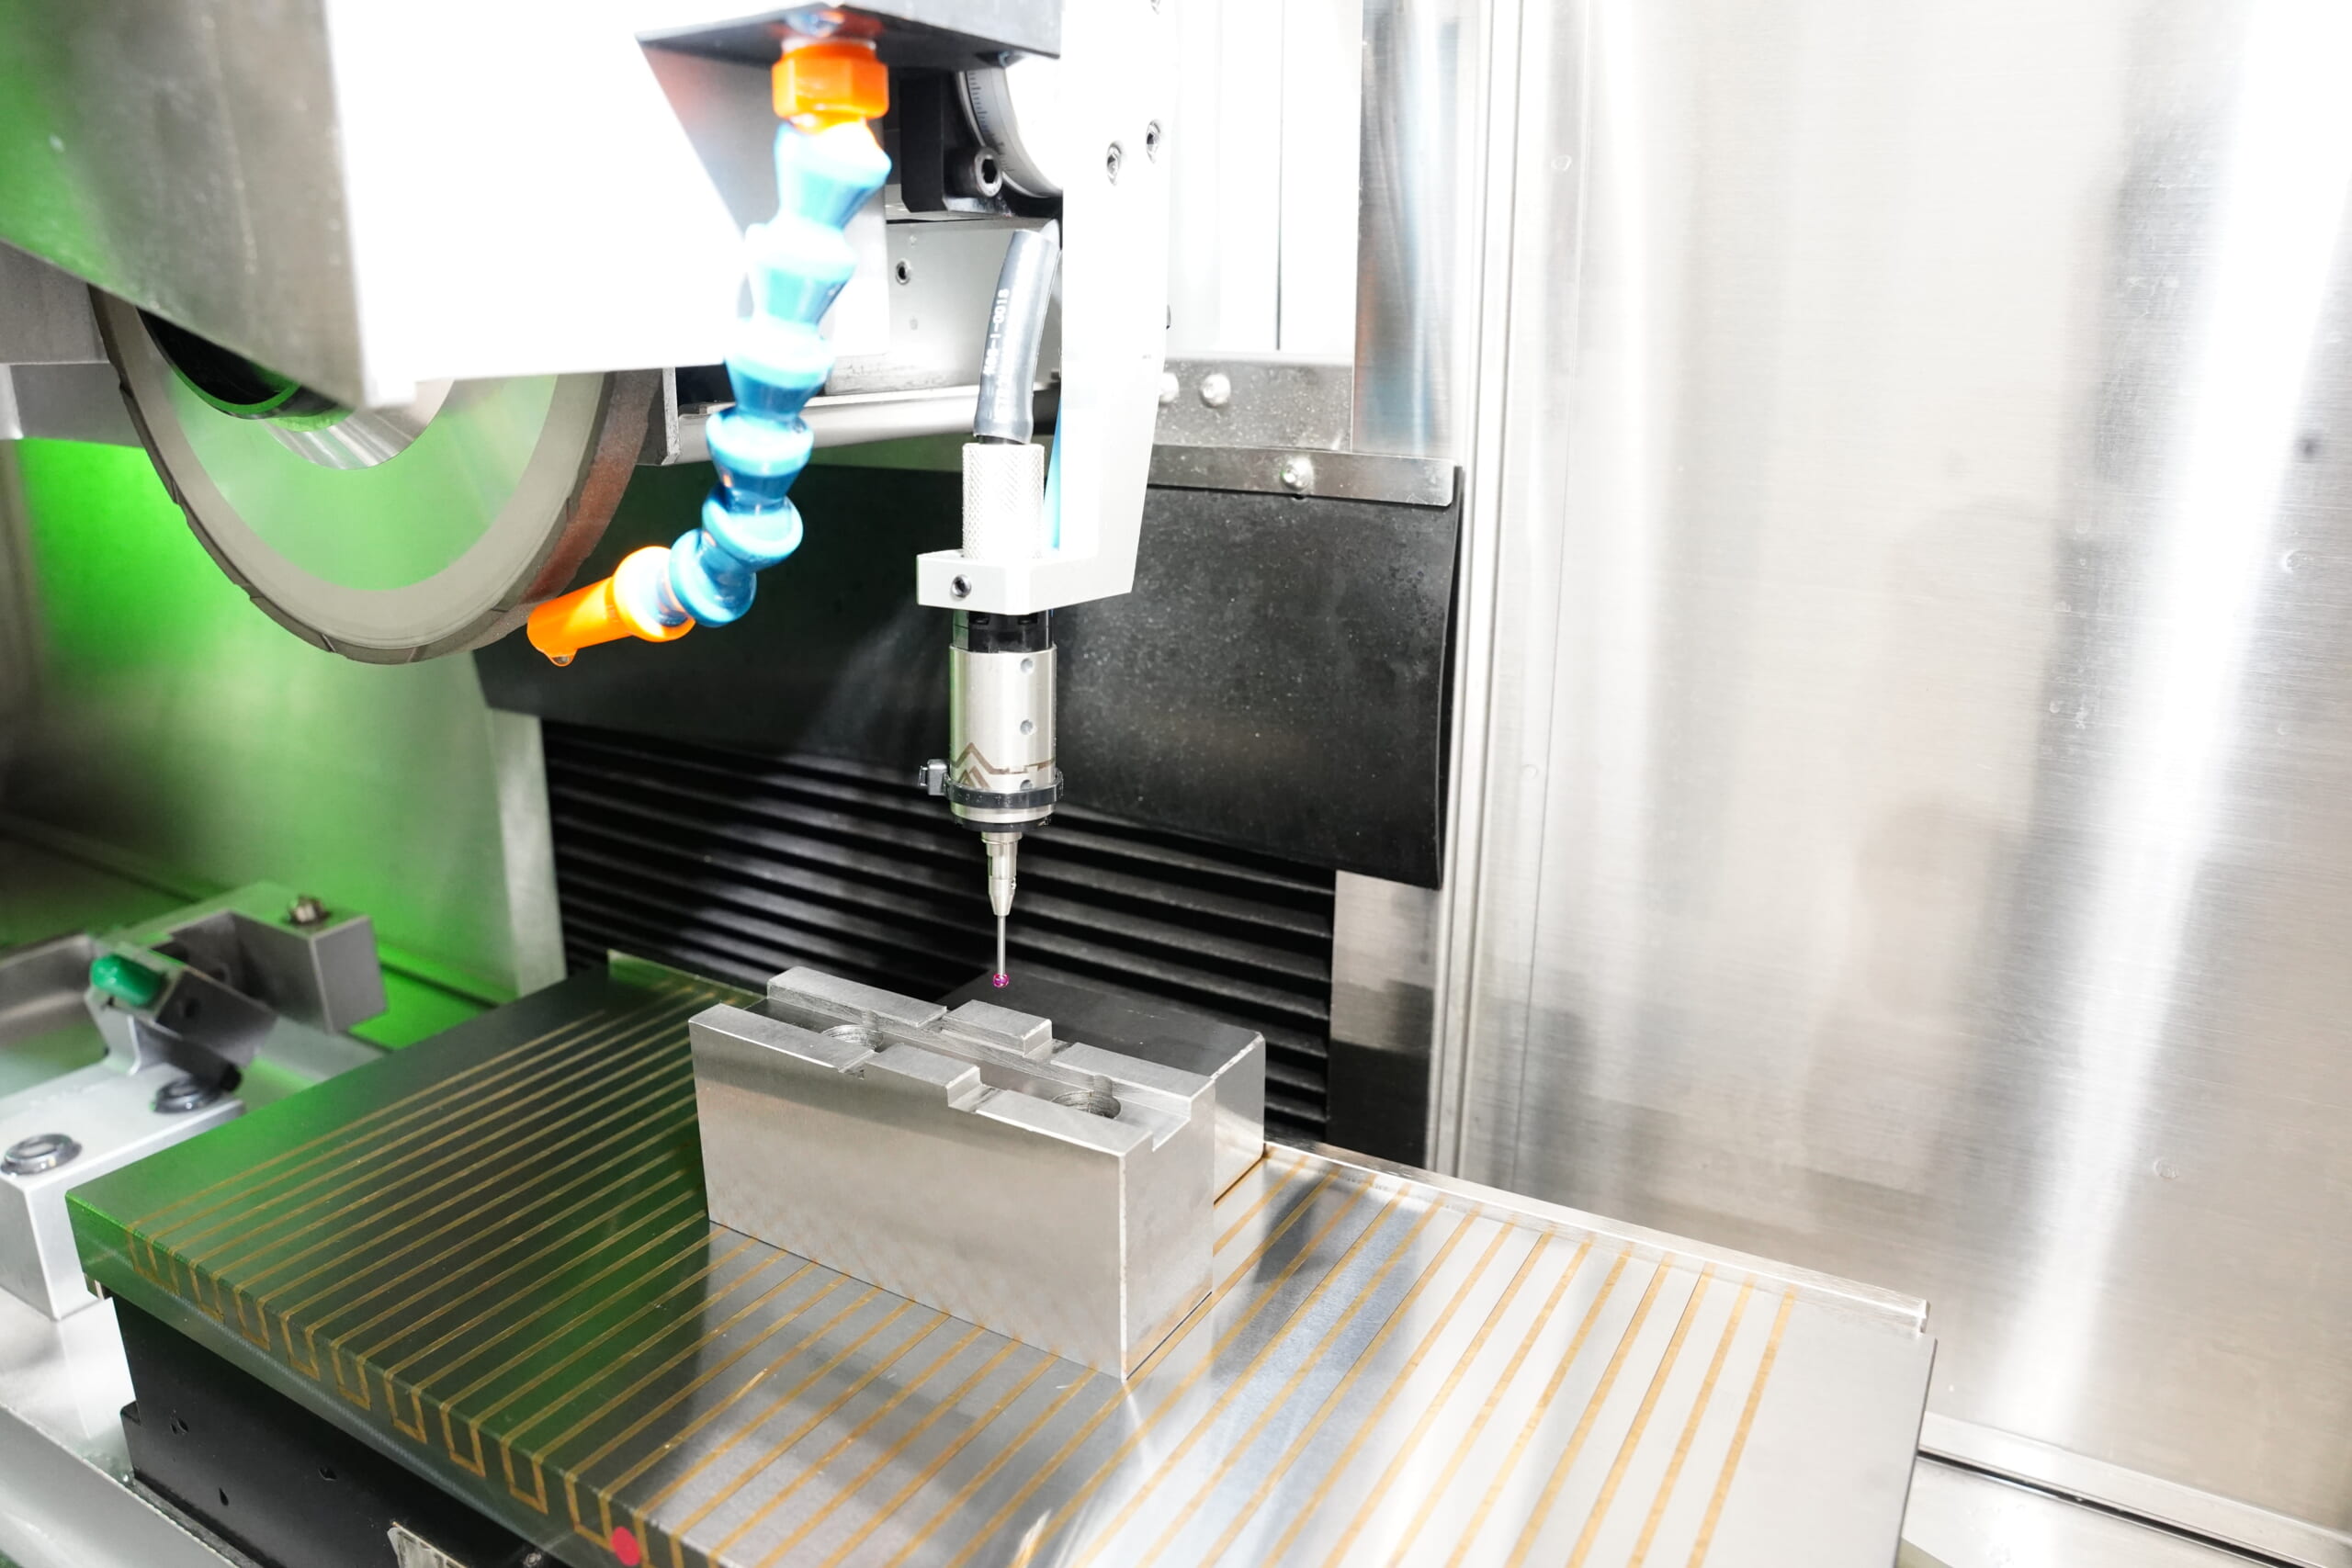
Then, at JIMTOF (November 2022), he discovered METROL's touch probe mounted on the [Okamoto Machine Tool Works, Ltd. Grind-X] grinding machine. After seeing a demonstration of the product, he decided to purchase it immediately.
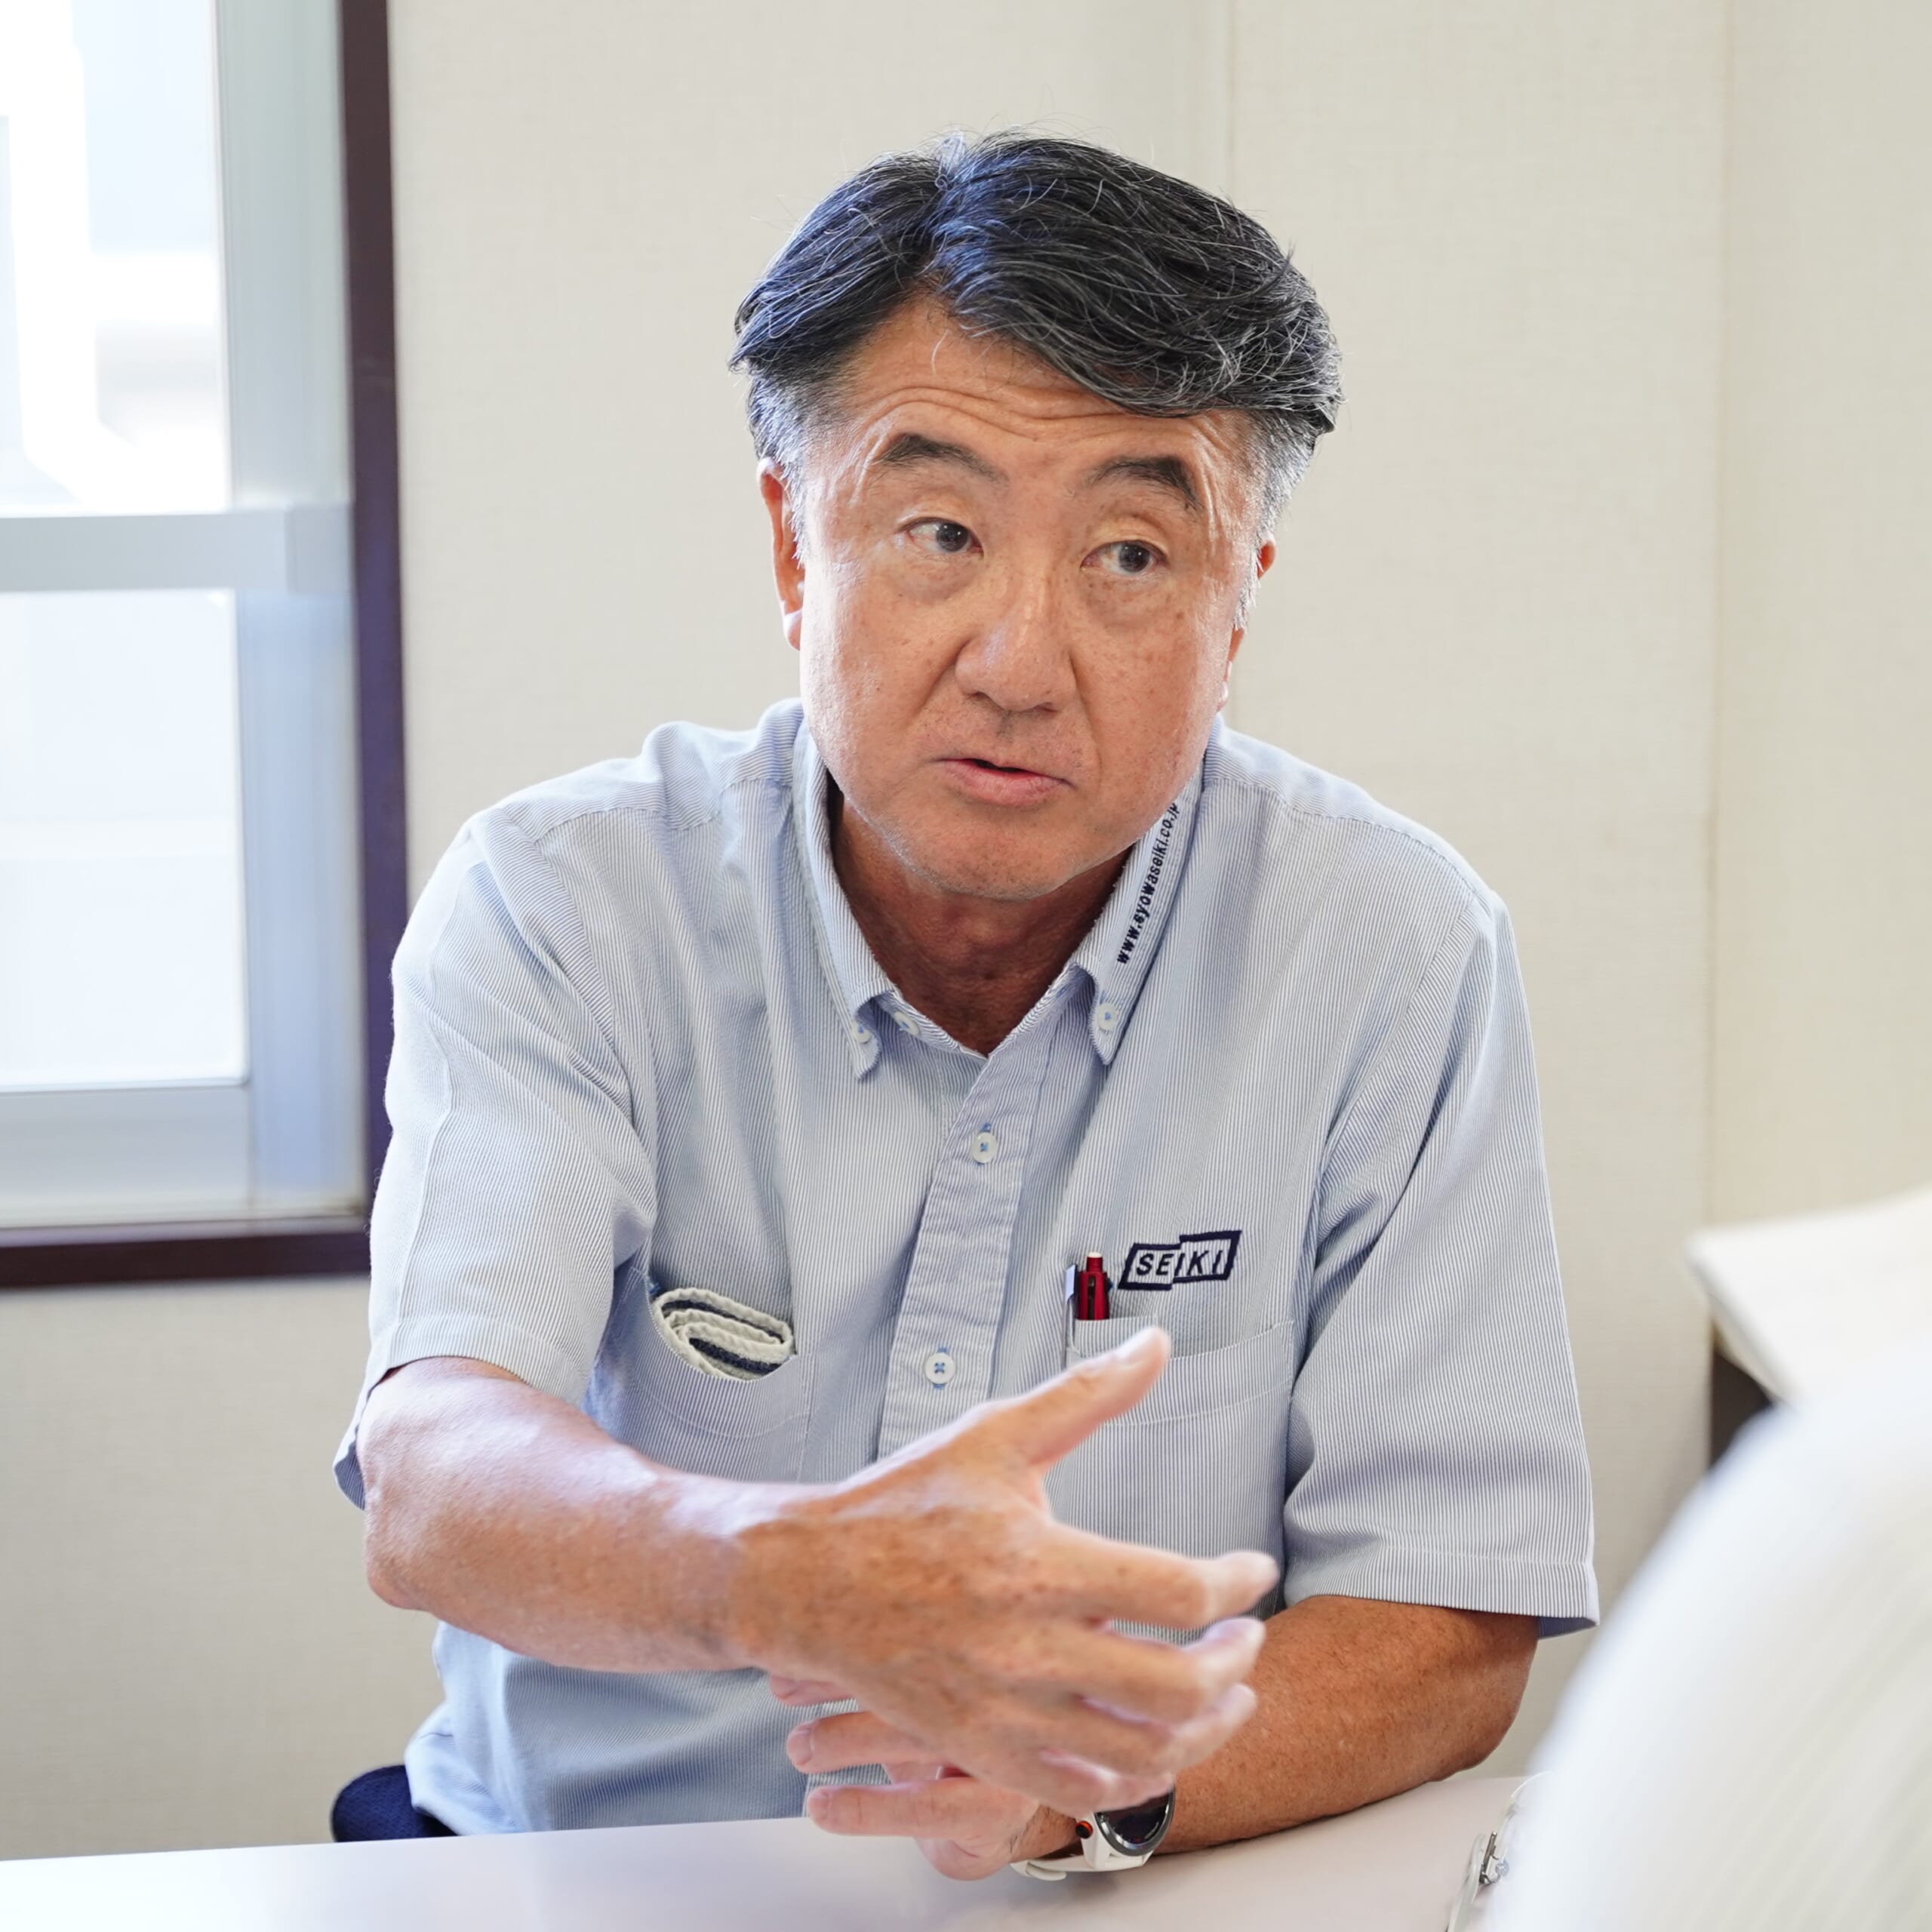
SHOWA SEIKI
President Kobayashi:
The ability to measure the front-back direction on a surface grinder, the only thing any grinder manufacturer had ever been able to do, was groundbreaking.
Once the workpiece is set in one chuck, everything is done automatically until completion. Accuracy can be guaranteed because the workpiece is never moved during machining.
The higher the accuracy required by the client, the more METROL's touch probes would come into play.
Four Advantages of ON-Machine Measurement
The introduction of On-machine measurement enabled "complete automation of the grinding process" from measurement to additional work without having to unload the workpiece from the machine.
SHOWA SEIKI had the following four advantages.
Advantages of On-machine Measurement with Touch Probes
- Reduces man-hours required for measurement to less than a quarter of the original cost.
- Eliminates workpiece attachment and removal, enabling simultaneous machining of multiple workpieces
- Workers who were sticky on the equipment are freed up to perform other tasks.
- Reduces the burden on veteran workers to pass on skills
Advantage 1: Less than a quarter of the man-hours required for workpiece measurement
On-machine measurement eliminates the need for the operator to remove the workpiece from the machine and re-set it for measurement during machining.
The man-hours were reduced to 1/4 of what they would have been by simple calculation, since the additional processing was repeated 4 or 5 times by hand.
Advantage 2: Simultaneous machining of multiple workpieces quadruples productivity
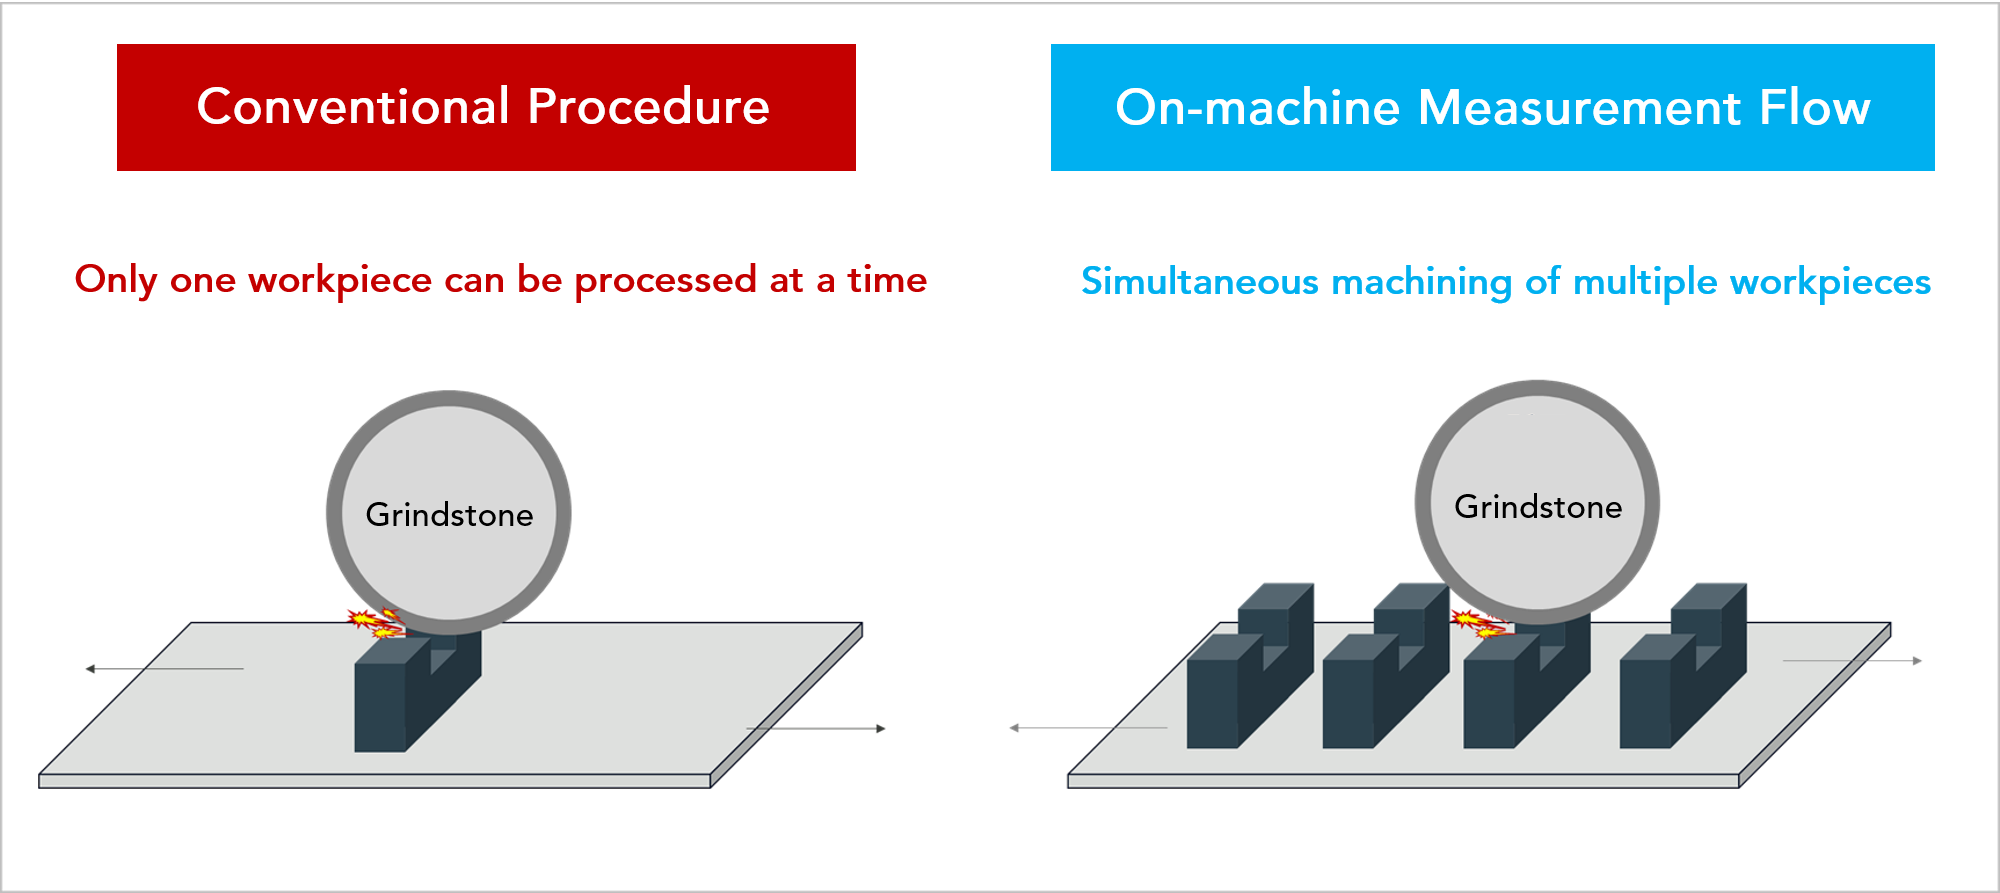
Since workpieces do not need to be attached or detached for on-machine measurement, it is now possible to simultaneously machine multiple pieces side by side, whereas previously only one piece at a time could be machined in consideration of misalignment of the installation position.
In the case of SHOWA SEIKI, 4 workpieces are processed together, further increasing work efficiency.
Advantage 3: Workers who were sticky on the equipment are freed up to perform other tasks
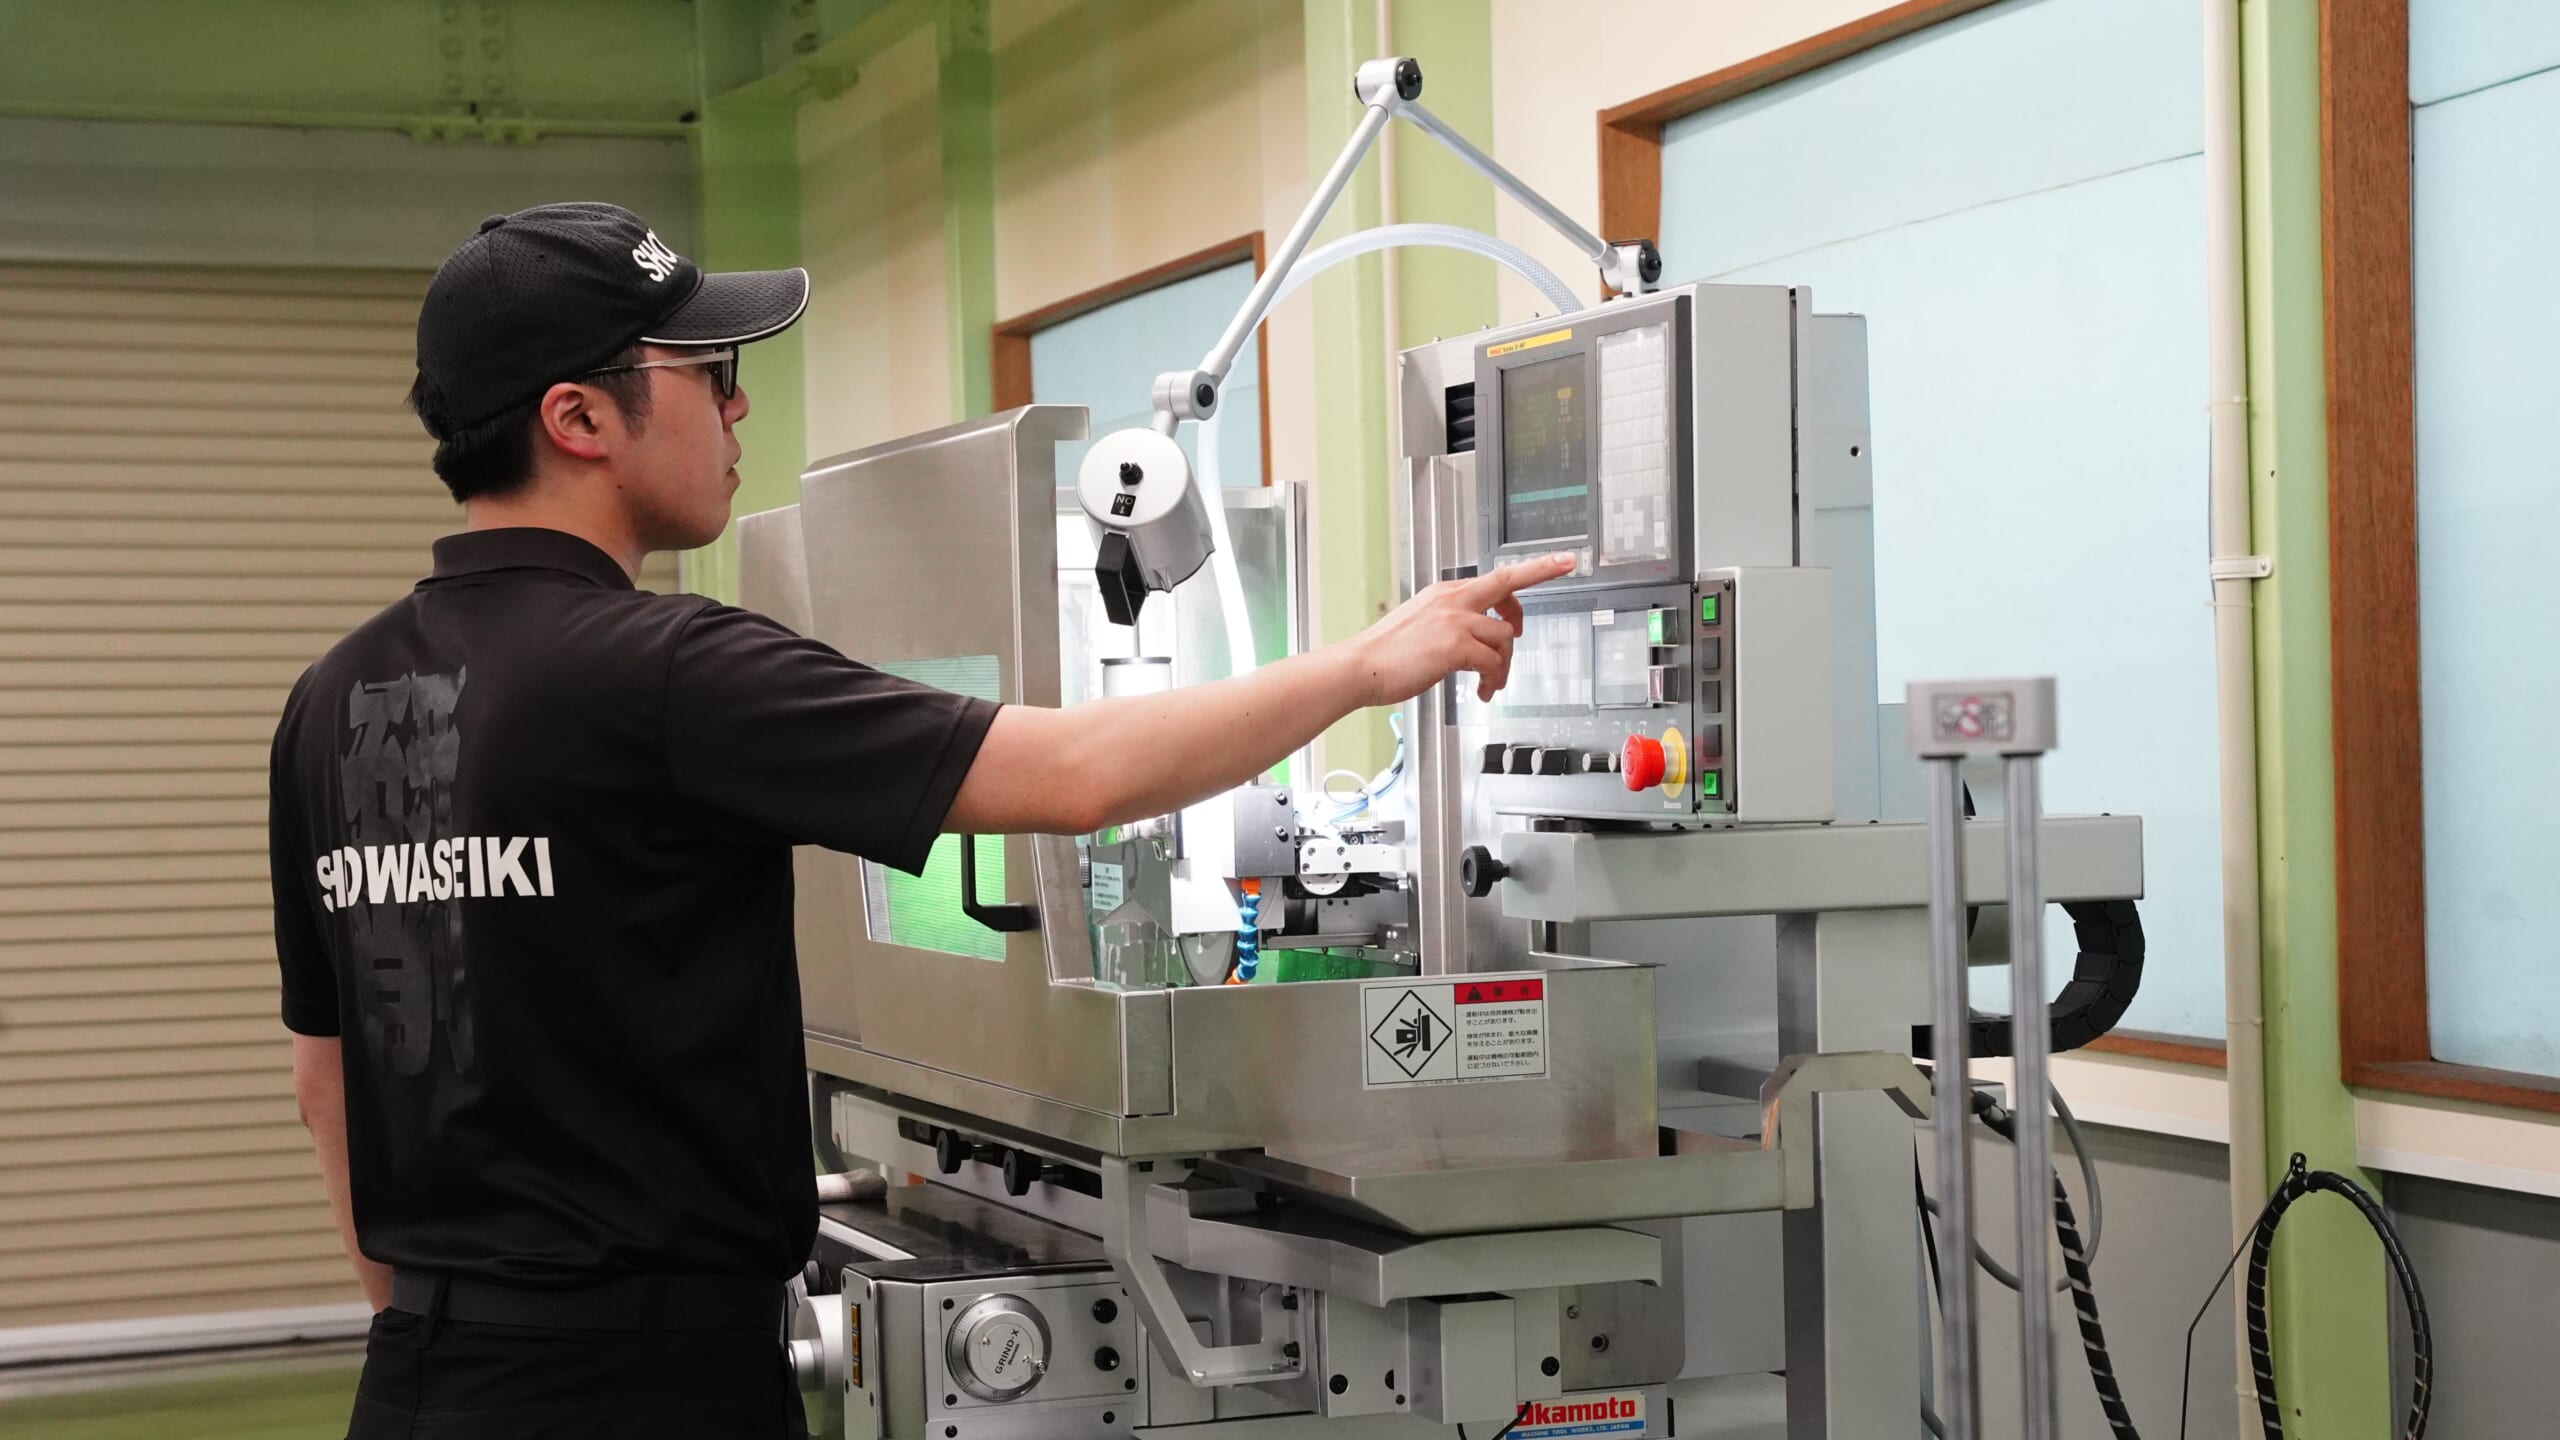
In the on-machine measurement process, once the workpiece is first set up, measurement and additional processing can be completed automatically at the touch of a button.
In the past, a worker had to stay at the machine all the time to keep an eye on it. However, with the introduction of on-machine measurement, it is now possible to work on other tasks at the same time, dramatically increasing work efficiency.
"Once processing started, I couldn't even go to the bathroom". ( by young employee)
After the introduction of on-machine measurement, human errors due to lack of spare time are expected to decrease.
Advantage 4: Reduces the burden on veteran workers to pass on skills
SHOWA SEIKI has a support system of veteran machinists and is actively passing on machining techniques to younger workers. Even so, they say that there are many situations in which they must rely on skilled workers for highly difficult processing.
The introduction of on-machine measurement has made operation possible even for inexperienced operators. We provide opportunities for younger workers to play an active role and reduce the burden that is biased toward a limited number of experienced workers.
President Kobayashi:
For example, the process of adjusting the finish 2μ is a task that can only be performed by a limited number of experienced and skilled workers. But with the introduction of on-machine measurement, once the program is learned, everyone from the youngest to the most experienced can work on it.
We have a lot of younger generation, but they are really quick to learn programming and machine operation rather than processing manually and relying on their senses.
"The shortage of labor and successors" has become an issue in the manufacturing industry in general, and sensors are playing a role in standardizing work here.
How Accurate is ON-Machine Measurement?
“As Good as or Better Than Manual Inspection.”
SHOWA SEIKI conducts "100% inspection" of deliveries.
The yield rate was high to begin with, but the introduction of on-machine measurement has further improved the yield rate and eliminated rework.
SHOWA SEIKI
General Manager Kazama:
When we inspected all the products by hand, we had to redo a few of them, but there were no defective products among the products machined by touch probes with on-machine measurement.
To be honest, when the machine first came in, I was half skeptical that it would really be accurate, or that it would be more accurate if a human operator did it, but I was surprised at how repeatable the accuracy was.
The Challenge of “Pursuing Accuracy” and “Improving Productivity” Continues.
The "touch probe" adopted this time has been approved for its high accuracy not only by young employees who mainly use it but also by veterans. President Kobayashi told us that he would like to add grinding machines with touch probes in stages.
SHOWA SEIKI
President Kobayashi:
This is not to say that veteran skills are no longer needed. As the number of experienced workers is decreasing rapidly in the future, it is important to find ways to cover the skills of veterans with younger workers and advances in machinery.
The sensors are generating "invisible money" that can be converted into accuracy and price, which is a different approach from training people.
With the introduction of on-machine measurement, we are now able to meet the demand of 1μm more than before. We will be glad if this leads to customers' confidence and trust. We would like to make the high accuracy of our products our strength.
We hope that METROL's sensors will be able to assist SHOWA SEIKI in its further success.
Tank you.
Interviewed by: Showa Seiki
Products Featured in This Article
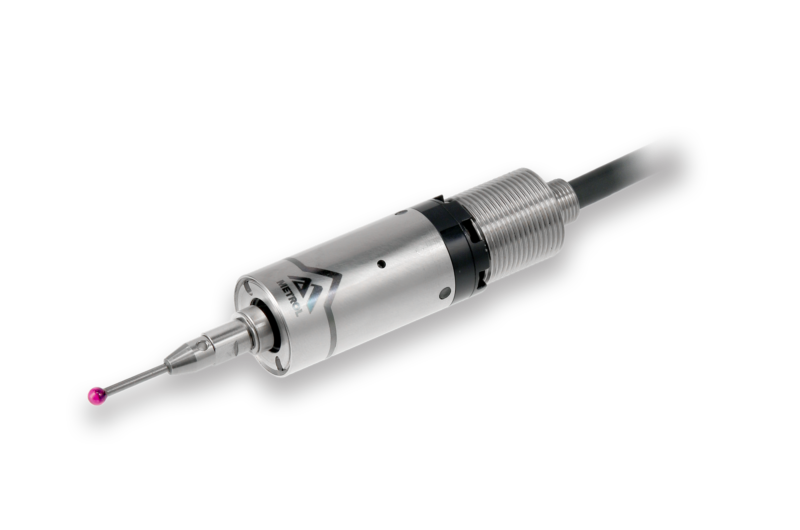
Compact Touch Probe for On-Machine Measurement K3S series
An Ultra-Compact Touch Probe Sensor for CNC Lathes [K3S Series]
Compact touch probe for use on automatic lathes and NC surface grinders
Designed with the industry's smallest diameter of φ17.8 mm to match the size of the tool holder, the sensor does not take up space and does not interfere with other tools.
it is used for grinding wheel wear detection on cylindrical grinders and workpiece height measurement on NC surface grinders.
It reduces the burden of the inspection process and contributes to improved productivity.
